
One of the things I like most about blog hopping is being able to click over to someones online shop or etsy store front. Easily. Right then. When I have $25 to $35 in my paypal that won’t be missed when bill time comes around.
I do not want to scroll up and down their blog, picking through awards, gadgets, followers, twitters that point me back to their blog, facebook updates that tell me what they are making for dinner; hunting for the thing that grabbed my attention in their post that I could be buying RIGHT NOW. I want it right there at the top.
I know. I’m demanding. But more importantly I’m a buyer of handmade goods. You’ve got me. I’m here, interested in what you are doing. I know someone who would want that necklace. Or that pair of earrings would look fantastic with my sisters new shirt. My neighbor did something nice and I’d like to get her a gift certificate to your shop. Why can’t I find it? Now!?! Never mind, I have to go get my kid out of the mud and I won’t be back to the computer until after dinner. You’ve lost me.
Here are a couple of options that will allow you to capture your buyer with minimal effort and avoid losing them in the busyness that is your blog.
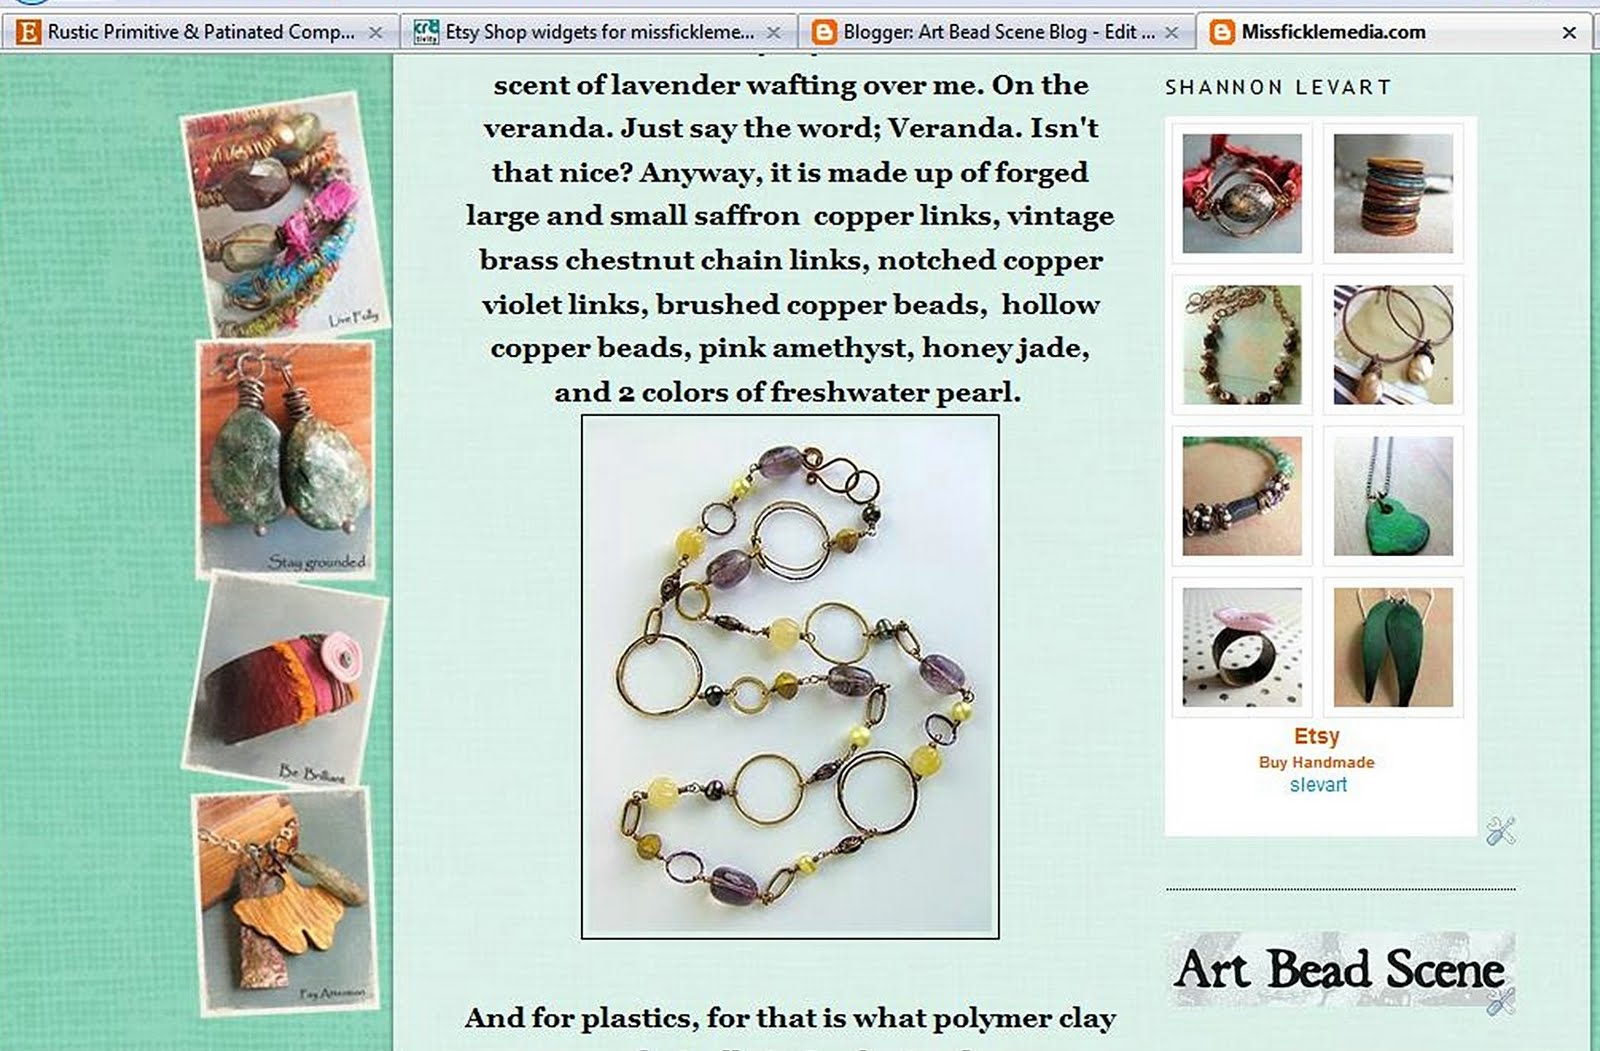
1.) Add an etsy mini to your blog side bar.
(these instructions are for pc users.)
First, log into your etsy and scroll down the left side until you see “PROMOTE” click on that. You are taken to a page that says Build your own etsy mini.
You are given 3 choices; the first is items to show. Click “items from my shop”. These items are your Featured items. You choose which items will show up in the top 3 photos of your shop and the items that are featured in your etsy mini by clicking on the gray star in the items title under Currently for sale . Arrange these featured items by clicking on Featured items and clicking the up and down arrows.
The second choice is choose an image size. This is up to you. I clicked both options to see which looked better on my blog and ultimately chose – Thumbnail.
Your third choice is choose layout. You can add as many as 5 columns (down) and 5 rows (across) to your side bar. But the point is not to have your whole shop on your blog, rather a showcase of easily accessible work. Plus 5 by 5 doesn’t fit on a lot of blog side bars.
By now you have an etsy mini preview below your choices. Do you like it? If not, change a few of your choices, if you do like it, simply select all in the code box shown below the preview and right click copy. You are now ready to add this beautiful sampling of your finest goods to your personal blog.
Do this by clicking Customize up at the top of your blog. Click on Add a gadget and scroll down the list until you see the option HTML/JavaScript – add third party functionality or other code to your blog. Click it!
You are given a place to title your etsy mini, why not use your business name? Then you right click in the box and choose paste. The code will be entered into your box. Don’t forget to save!
2.) Add a cr8tivity slide widget to your blog.
Go to to http://cr8tivity.com/ . Type in your user name. Click the button that says Widget. Copy the code in the top or bottom box. See your little box on the side there? Isn’t that pretty and eye catching?
To add this nifty widget to your blog, repeat the same steps as with your etsy mini;
Click Customize up at the top of your blog. Click on Add a gadget and scroll down the list until you see the option HTML/JavaScript – add third party functionality or other code to your blog. Click it! Fill in the info and paste your code into the box. Save it and arrange the new widget where it will be seen easily. Save your changes.
Now view your blog and rejoice. You have just made it that much easier to fulfill a shop-a-holics need.
I’ll check for questions in the comments so please ask if I can assist you.
Much Love and respect,
Shannon
missficklemedia.com