to Studio Saturday! Each week one of our contributors gives you a sneak
peek into their studio, creative process or inspirations. We ask a
related question of our readers and hope you’ll leave comments! As an
incentive we offer a free prize each week to bribe you to use that keyboard. The following week we choose a random winner.
~~~~~~~~~~~~~~~~~~~~~~~~~~~~~~
Congratulations!
You have won a pair of recycled aluminum can earrings from Tari at Creative Impressions in Clay.
I spend weeks working on jewelry (I had a goal of 5 new things per day. Didn’t quite make that, but I did have new things!) Since I only do this one show a year, I don’t have a huge booth and I don’t spend a lot of time on it. But I do want to make an impression with the clientele that come, even if I don’t sell much at this show. What I did have for display was feeling a bit drab and tired. I do prefer booths that have interesting displays, varying heights and a cohesiveness. I don’t care for just throwing all the jewelry in a big heap so that it just looks like a tangled mess. And the display has to be something that I can easily do all by myself. I also believe that my booth is an extension of my branding, like walking into a store with my name on it, so I wanted to do something that felt more like me.
Pinterest has been a constant source of great ideas for me. I have a Pinterest board that is specific to displays and I invite you to follow me there. I took little bits of this and that to make this booth feel like my own. After some thrifting, repurposing, and many cans of spray paint later, I now have a cohesive design that feels earthy, classy and whimsical, just like me. (I apologize for the poor pictures. I took these on my phone and they looked great at 3 inches but not so much here!)
I started with a Pinterest display idea that has made the rounds.
 |
| {The inspiration courtesy of Pinterest} |
Isn’t that clever? But I knew that I wanted to make it my own. And it had to be portable.
I bought up all the clipboard packs that my Walmart had. The original inspiration had burlap under the clips, and I thought of just adding scrapbook paper as a backdrop, but found that too busy for what I do.
Then I spied a can of chalkboard paint.
 |
| {Close up of my clipboards} |
It took several coats, and because I am lazy, I sprayed right over the metal, but found that the metal did chip away if I wasn’t careful. I tried spraying a clear coat on top of that, but it just crackled it and made it worse. So I might be repainting, or figuring out something that I can brush on to make it more durable (but remember, I am lazy 😉 I love being able to draw on the boards with little details and the name of the pieces.
 |
| {Long shot of my booth set up.} |
I needed it all to be portable and found these louvered bifold doors at two different consignment shops. I got them for $20 and $22. Considering that new bifolds would be upwards of $65-75 each, this was a steal. One had a little condition issue, and they were slightly different, with one raw wood and the other stained walnut, but similar enough. Spray paint unifies anything! I might add a little latch to keep them closed and a handle for easier carrying, but I was able to do it myself. With a cart loaded up and these two doors, it only took me 2.5 trips!

The biggest problem was how to make the doors freestanding. I thought about making bases for them out of shelf brackets, but that would be far too much work. Then I saw another idea on Jewelry Making Journal for a booth by Wired Orchid. I solved that problem by busting out the bottom louvers and inserting a standard shelf. Voila!
I found that I could use them separately as I did here, or backed together for a cube like presentation or even in a row for a whole wall. I used simple S hooks through the louvers to hang the clipboards.

I recently got lost on the way to Galena, IL for Heather’s trunk show… in the Hobby Lobby in Madison! 😉 But my detour was fruitful in that I scored this metal frame that was on clearance because the center was scratched. Chalkboard paint to the rescue! Oh, and I painted the lower portion in chalkboard on one side for added signage in the future.
When I was figuring out how to hang this, I somehow got it wedged in the door. Aha! Yes…the tension is all that is holding it there! (Spoiler alert: that necklace on that bust is my Bead Soup Book piece! You can read all about my inspiration on Sunday, October 7th on my blog and comment there to get a special bead soup I am giving away!)
Since I had many cans of hammered copper paint from the doors, I decided to see what else I could redo. Again, back to Pinterest!
The inspiration… resin molded ornate frames with fabric inserts and cool hat pins.
 |
| {I like the look of these resin frames (but not the price!) and pinning the jewelry makes it special!} |
On my many thrifting excursions, I found two of these wickedly ugly plastic 70s picture frames at Goodwill. I picked up some wooden easels that fit them perfectly from the Hancock Fabrics next door. Carefully popped out the glass and the faded prints scrubbed the grime and dust off them, added some batting and beautiful upholstery fabric that I got at 70% off. Again, the hammered copper paint to the rescue.
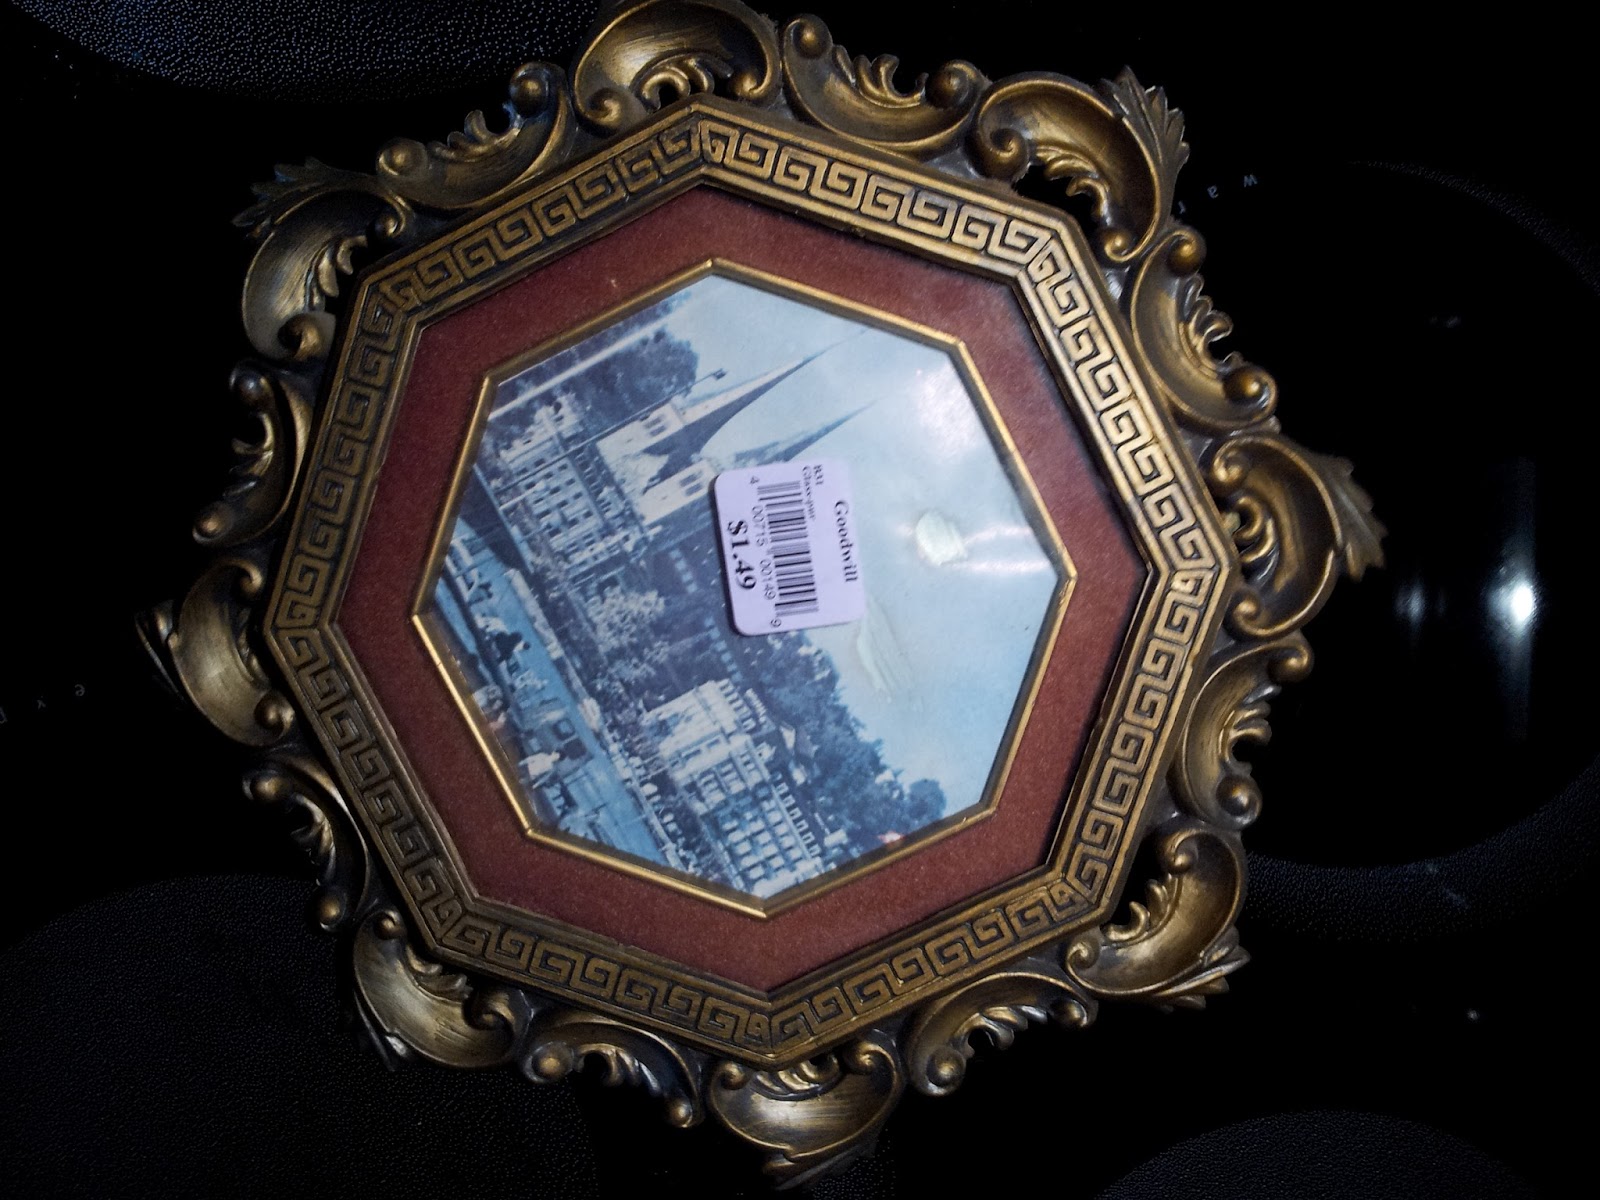 |
| {Before…good deal at $1.49 each!} |
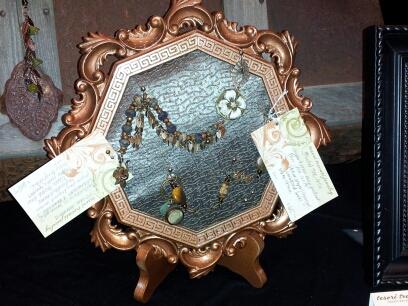 |
| {…and after…a cool display!} |
Recently I went into a new boutique in my town called Girls With Pearls (I am working on some jewelry that will be perfect for there). All their display busts and bracelet bars were this yummy copper color. Copper is my signature color. I remarked on them and she gave me the link to the company she bought them from. I briefly considered ordering some, but then decided that I would try the left over spray paint. After all, this is the only show that I do 😉

Krylon Fusion Hammered Finish in copper for plastic worked the best to transform some of my tired black leatherette neck busts into shiny copper displays that unified my booth. I tried another brand and it left the fabric tacky (I was going to say it left my busts sticky but that sounds like a personal problem 😉 , so I would recommend using the Krylon.
 |
| {Tired old bust before…} |
 |
| {…and after! This one is on the back left.} |
All my thrifted displays look cohesive without being boring since there are different tones. Wood display cubes and a leatherette suitcase provide heights. A good mix of copper and black… A thrifted candle tray that looks very much like my cheap sign worked perfectly for earrings with my earring cards that stand up by themselves (you can read how I did that on Earrings Everyday). Now I see that I need to clean the mirror. Doh! I am thinking of spray painting that copper to match…..
My last aha moment came from my trip to Galena and Trish Italia’s new store Rustic River Finds. In the front window of this charming new store, Trish has all these old steamer trunks displaying jewelry. Over the summer I was looking for a new photo prop at a local antique store. I wanted a piece of weathered wood or an old pressed tin ceiling tile. I found this rickety old trunk outside in the elements rusting perfectly! The owner went to open the top and the whole thing came off and released a hornet’s nest! He gave me the detached top at no charge. It is a might bit large to photograph in my studio, so it has just been sitting around. I put a metal easel underneath to prop it up, wedged a few cup hooks in between the warped wood and rusty metal (I didn’t want it to be permanent) and it was the perfect display! For free!

My booth was the talk of the show. The organizers mentioned that if they had a prize for booth display (they don’t), I would win it. Other vendors couldn’t help but come over to see (including those I would consider my ‘competition’ ;-). And my whimsical chalkboards captured the attention of the passing patrons and even did some of the ‘talking’ for me!
All in all, I like the direction of my new booth and could see setting it up at other shows if I had the opportunity! Now to try getting some trunk shows and home shows added to my schedule… I think I look like I am for real now!

Recently, I made a pendant for a winner in a giveaway that I had on my blog earlier this summer. I created a Simple Truth pendant using the winner’s input from the most delightful story of this poem by Kobayashi Issa. I made two. She chose the one she wanted and I will giveaway this extra special little Simple Truth spider pendant to one random comment to this question:
What do you have in your lying around that you could add a little spray paint to or just use in a different way that would be the perfect display?