Welcome to Studio Saturday! Each week one of our contributors gives you a sneak peek into their studio, creative process or inspirations. We ask a related question of our readers and hope you’ll leave comments! As an incentive we offer a free prize each week to bribe you to use that keyboard. The following week we choose a random winner.
This weeks winner is commenter number Sabine of MyCriticalEye! Congratulations Sabine!!
You have won a free copy of the Color Drenched Metal tutorial from
Shannon LeVart’s studio!
Please forward an email to
Shannon with your email address so she can send your ebook to you!
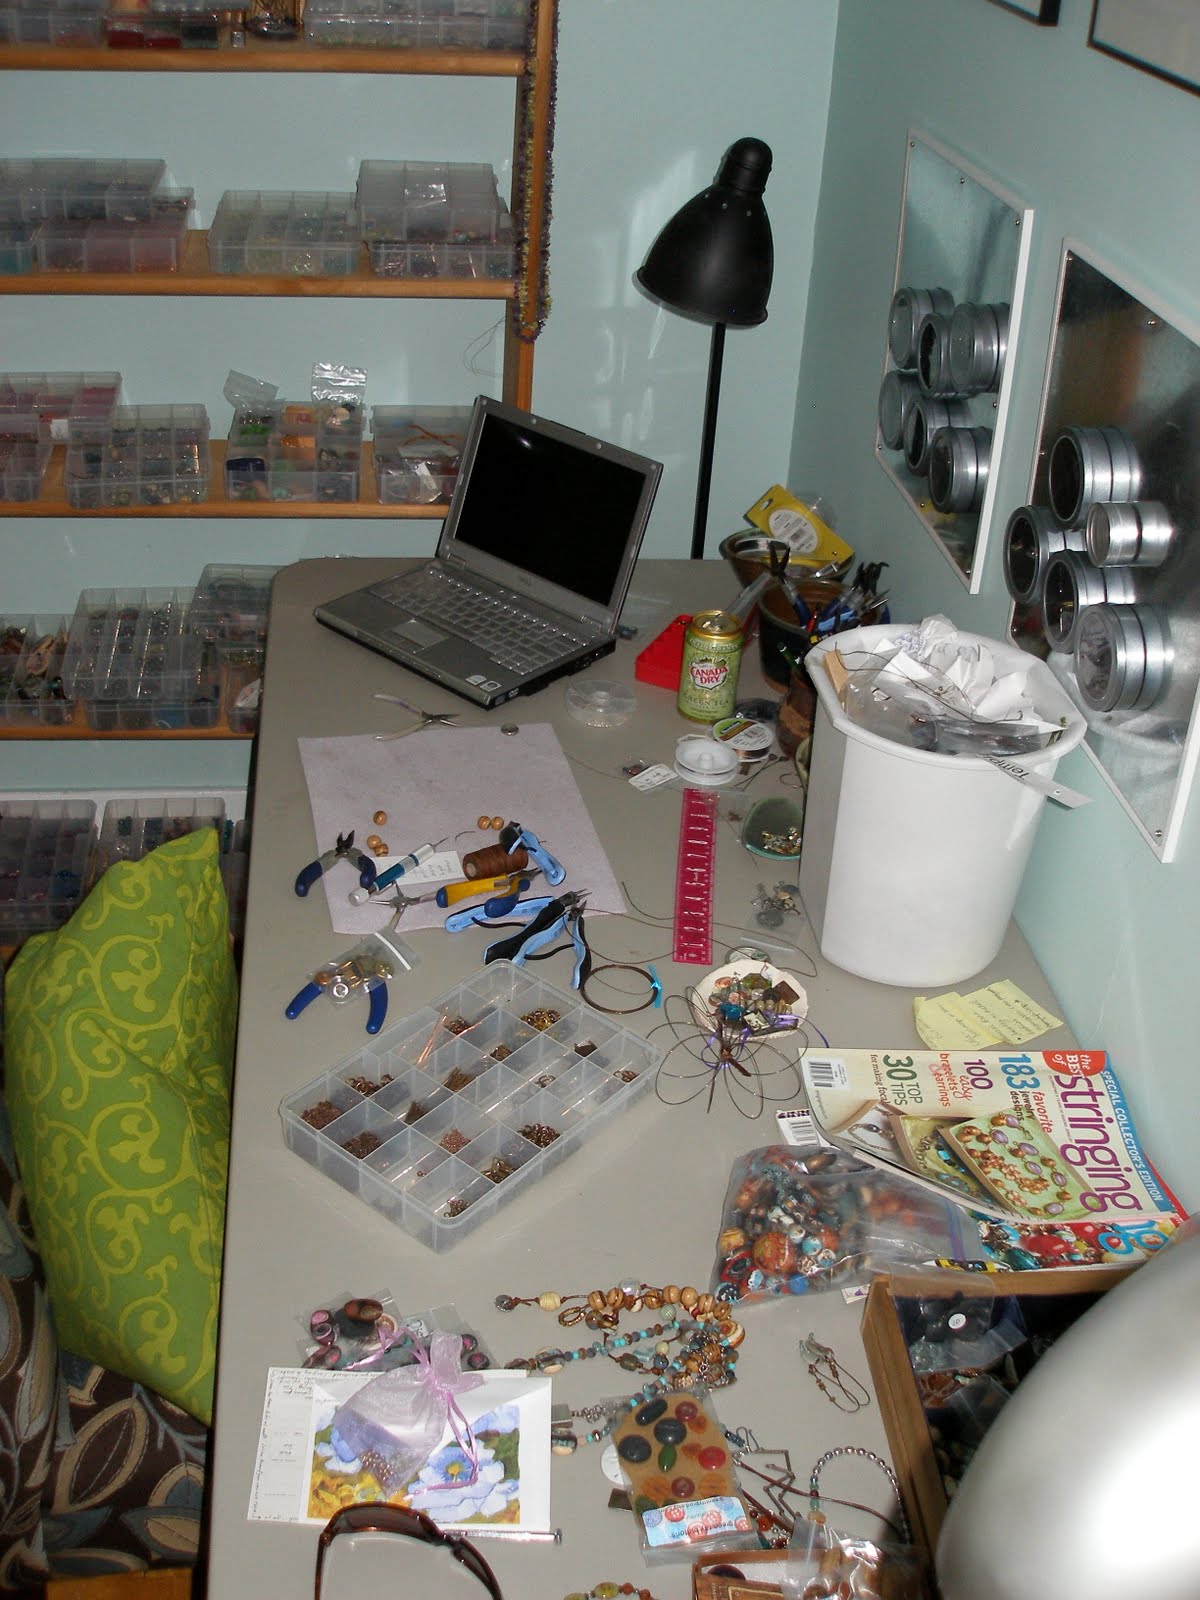
This weeks Studio Saturday is with Jewelry Designer, Lorelei Eurto.
Actually, instead of hanging out in the mess of my studio today, let’s head down to the office, and chill at the computer, shall we? I want to talk today about creating your own photo collages. Photo collages are easy to make and they are so fun to put together, I know you’ll all be doing it non-stop once you learn the steps.
There are a few reasons why photo collages are cool:
1. They act as a really awesome marketing tool- for either bead makers or jewelry designers!
2. Showing off your beads or jewelry in groupings with other pictures helps create a power of suggestion.
3. Outfits are my favorite choice for creating collages, but other things like color/ texture photos also help
make an attractive collage!
Step one:
Download Picasa– it’s free photo editing software, and I love using it to edit all of my jewelry pictures. So it has a dual purpose here- editing, and fun collages. You can’t beat that!
Step two:
Find images you want to use with your bead or jewelry pictures. Choose pictures that are eye catching, and I recommend not stealing peoples photos- so make sure they are copyright free.
To snag photos, create screen shots:
PC users: Press the Print Scrn button on the keyboard- image will be saved into the screenshots folder in
Picasa.
Mac users: Press command + shift+4 then select an area. Takes a screen shot of an area and save it as a
file on your desktop.
Step Three:
If you use a PC, you’ll have to crop your screen shots so that all you see is the picture of your article of clothing or photo.
Mac users- your image should already be cropped.
Step four:
PC: after all shots are cropped, save the pics to a folder, then move your bead or jewelry pictures to that same folder. It’s easier to create your collages if all your pics are in one place.
Same goes for Mac.
Click the folder within the Picasa program, so you are viewing all of your collage images. Holding down the Ctrl / Command(mac) key, click the photos you want to use in your collage.
Click the COLLAGE button at the bottom of your screen.
Step five:
You must pick which kind of collage you want, chose the type at the top left, drop down menu. I like to use Mosaic. You can also choose the monitor/display size and create thicker grid lines here.
Click Create Collage button. the collage will be saved in the Collages folder within Picasa.
Attach your new collage to a blog post and Voila! You’ve got insteant Power of Suggestion!
I am showing 2 examples, one with an outfit, and one with different types of images- so you can see they are both quite attractive and show off my jewelry designs.
This week, I am giving one lucky randomly drawn winner, one of
Kelley’s new Lampworked glass buttons!
To qualify to win this Mustard and Clear glass button, you must leave a comment with your answer to the following question:
What other cool marketing tools do you know of? Care to share?
Thank you so much for stopping by my office today, I hope you enjoyed this tutorial!