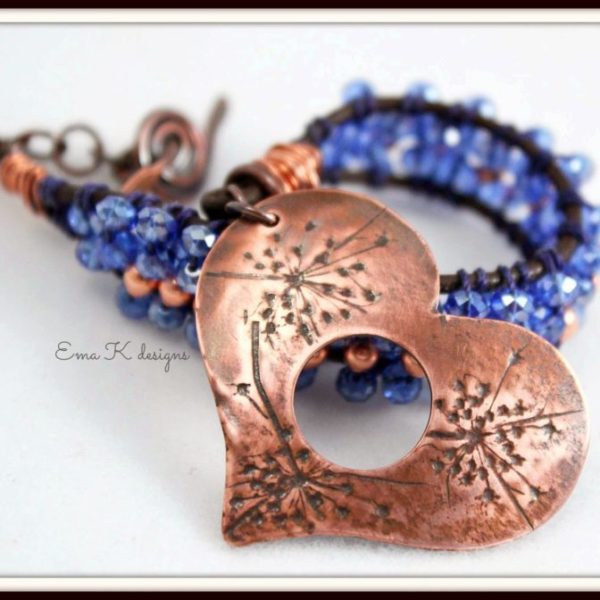
Thank you for all of your comments on my last Inside the Studio post! I appreciate all your kind comments. It seems the majority of you are interested in learning about metalworking tools. In today’s post I’ll share with you the tools I’m currently using to create metal components. I think it’s fair that I fully disclose my background in metal work. I have none. 😉 Well that’s not entirely true. I’m not formally trained in metalsmithing, so some of my techniques may be a bit unconventional. I have, like many of you, spent hours scouring the internet, borrowed hundreds of books from my local library, purchased many books and simply sat myself down to figure out how to make the metal do what I wanted it to do.
As I mentioned before most of the copper I use is upcycled from the construction industry so it’s basically scrapped roofing metal. It’s a 22 gauge metal.
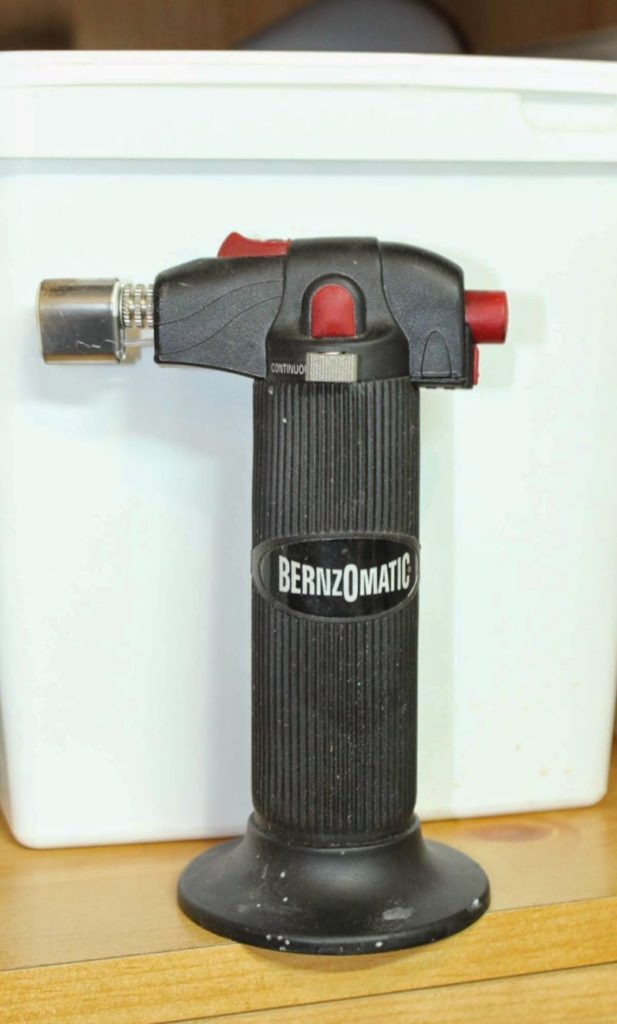
I begin by annealing the metal. Annealing is the process of heating the metal until it glows red. This softens metal making more malleable. Much easier on your body, your tools and the metal.
IMPORTANT: Heating metal releases toxic fumes. It is important to properly ventilate your work area.
I am showing a butane torch because it is a relatively ‘user friendly’ option for heating metal. I currently use a plumber’s torch with tanked acetylene.
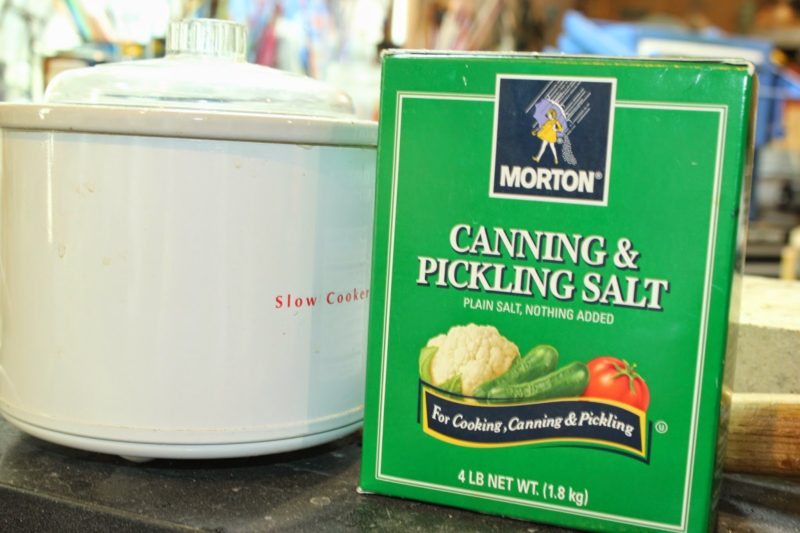
Then into the pickle pot it goes to remove the black fire scale. You can buy pickling solution at any reputable jewelry tool company but I get mine at the grocery store. I try to eliminate my exposure to toxins as much as possible. I mix food grade pickling salts with water. I don’t measure; a couple of tablespoons to a couple cups of water. It works like a charm.
You’ll need to transfer your design ideas onto the metal.
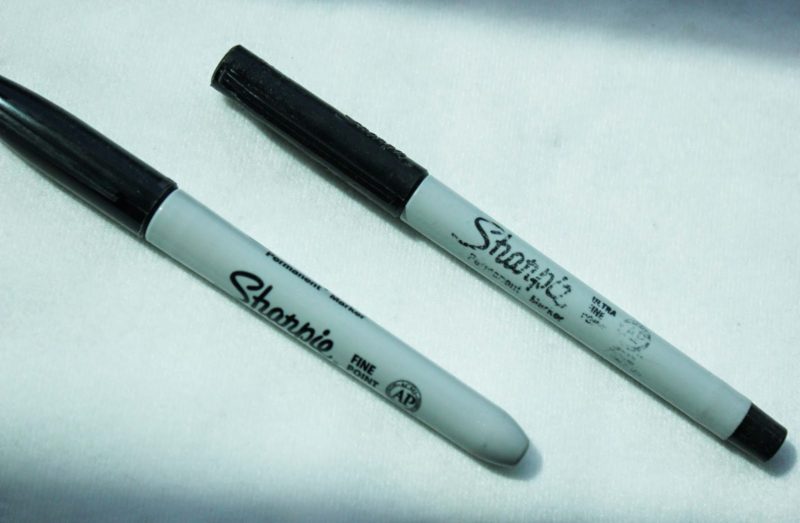
Permanent markers are a great tool for drawing your designs onto the metal before cutting them out. The ink can easily be removed using rubbing alcohol.
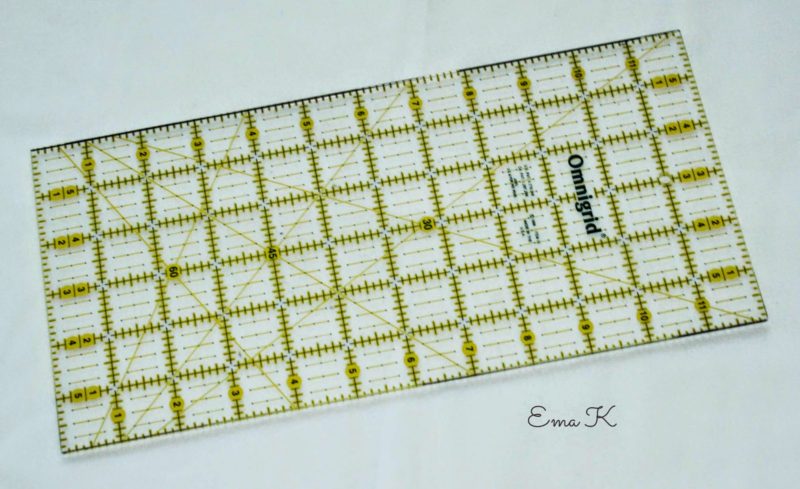
One of my favorite tools for measuring and marking on metal comes from my days as a quilter. It’s a gridded quilting ruler which allows me to draw straight, square edges.
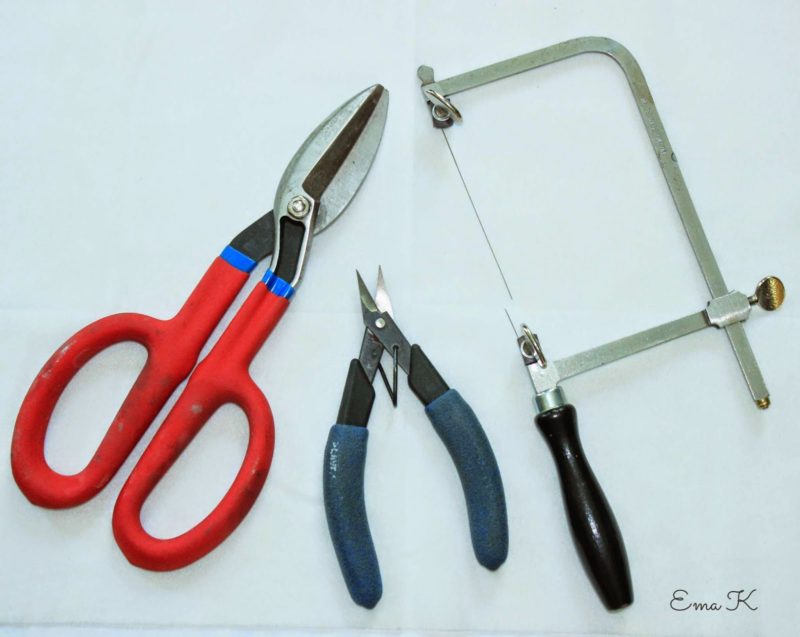
I use a heavy duty pair of pliers to rough cut the metal into useable sized sheet. I use a finer (much more expensive), Lindstrom metal shear for finer cuts. A jeweler’s saw is also handy for detail cutting. I hear many people don’t like using the jewelers saw but I do enjoy using it. There is definitely a learning curve involved in using one. (oops, my blade is broken in the photo.)
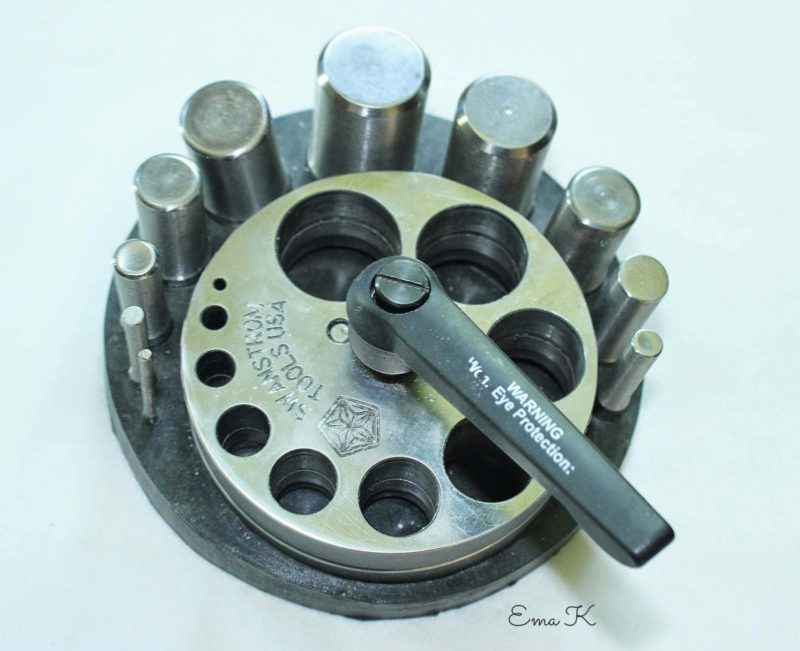
Another tool for cutting shapes are disc cutters. Disc cutters come in a variety of shapes; round (pictured), heart shaped, oval, etc. I highly recommend spending the money to purchase a quality disc cutter. I had a cheap disc cutter which I threw away (well, technically recycled) because I was so stinking happy to get it out of my studio.
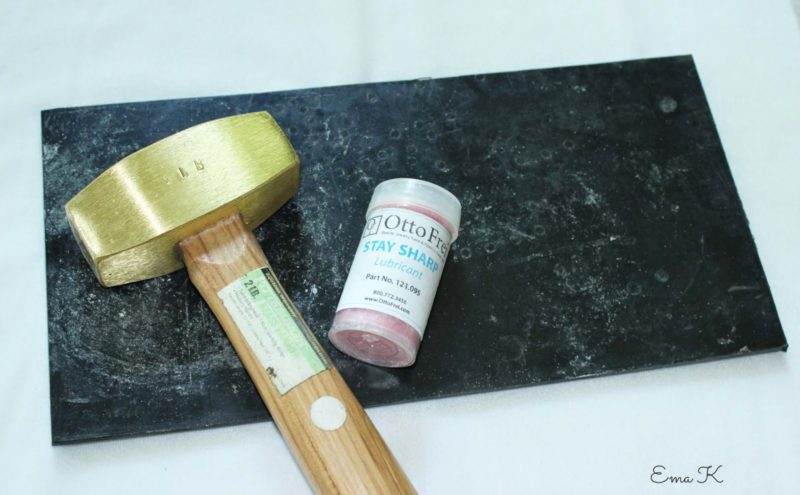
If you’re using a disc cutter you’ll need a lubricatant for the punch, a brass hammer for striking the punch and a rubber mat or leather bag (not pictured) to deaden the sound.

There are a variety of tools you can use to punch holes into metal. My favorite are the hand held hole punches (the green and blue pliers). If you use a drill or flex shaft to make a hole into metal you need to pierce the metal with a sharp object (the gold center punch on the left) as a pilot hole to keep the drill from bouncing across the metal.
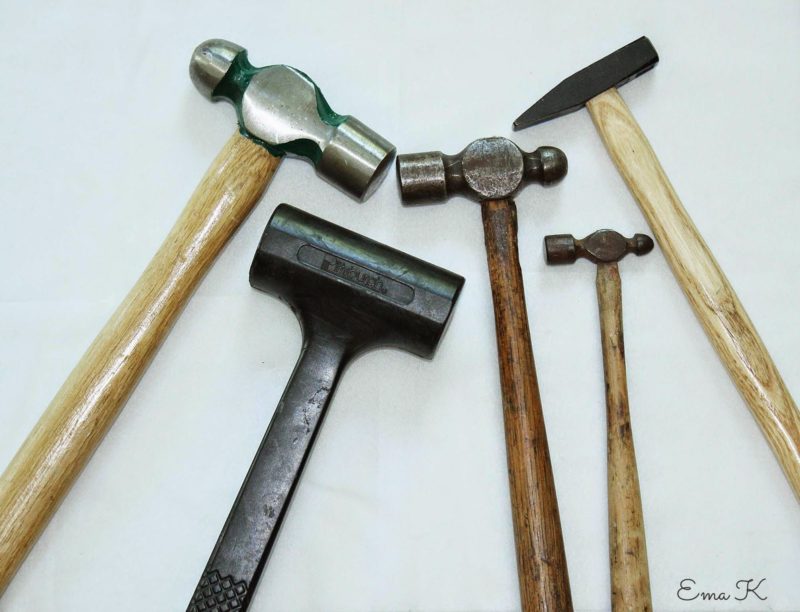
Hammers of all shapes and sizes are handy for forging and texturizing metal. From left to right: a large (cheap) ball peen hammer, a black weighted 3 lb dead blow hammer (I use this to shape a piece around a basebal bat for a nice bracelet curve without marring the metal.), two very old ball peen hammers, a riveting hammer.
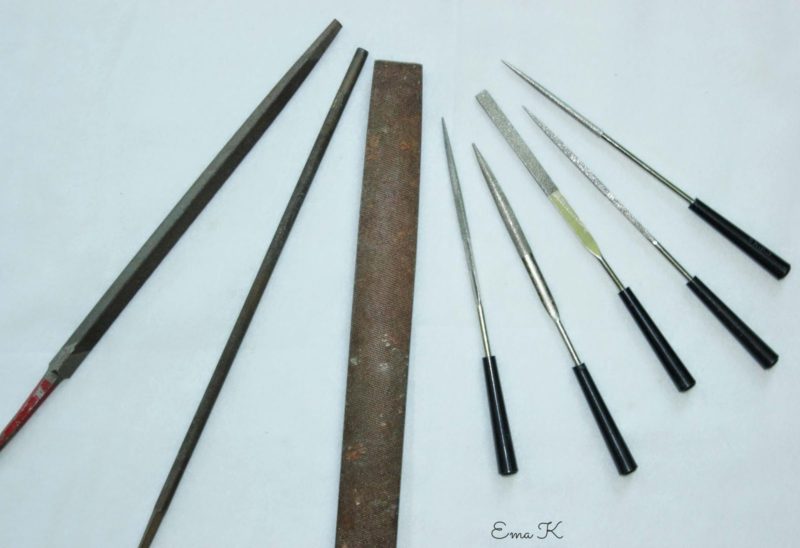
Files of all shapes and sizes are great. I have acquired files from my husband, picked them up at flea markets and purchased them from jewelry supply companies. The five files to the right are a set of hand held diamond files. Filing is always necessary when you’re working with metal. Firstly, you need to make sure the piece is smooth and won’t snag or scratch somebody. Other uses would be to remove a bur, define a curve or smooth an edge. As you saw in my last post I often use a stone wheel to file edges. If a motorized machine can help me accomplish the task faster I don’t hesitate to use it.
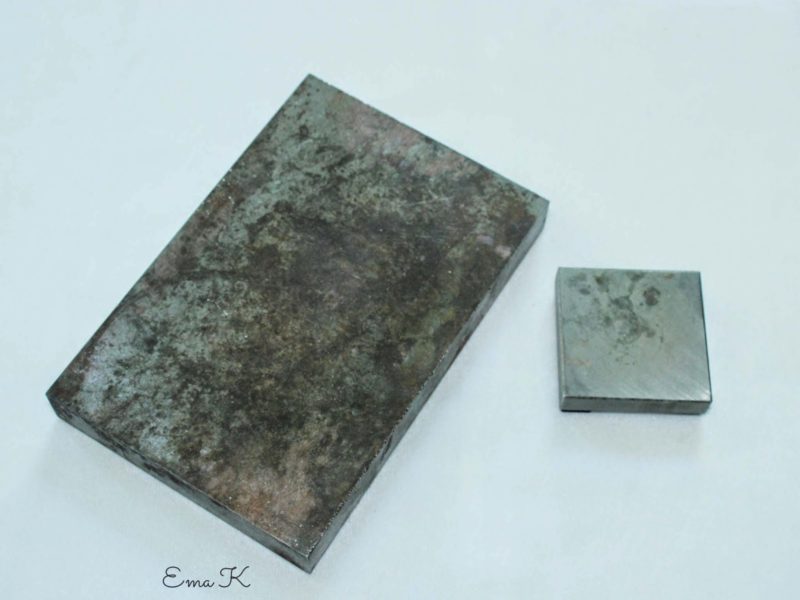
Steel bench blocks are used to aide in texturizing metal, flatten a piece of wire using a hammer and stamping metal. My block needs some TLC, it’s not in the best shape right now. Working a piece of metal on a steel bench block will work harden it
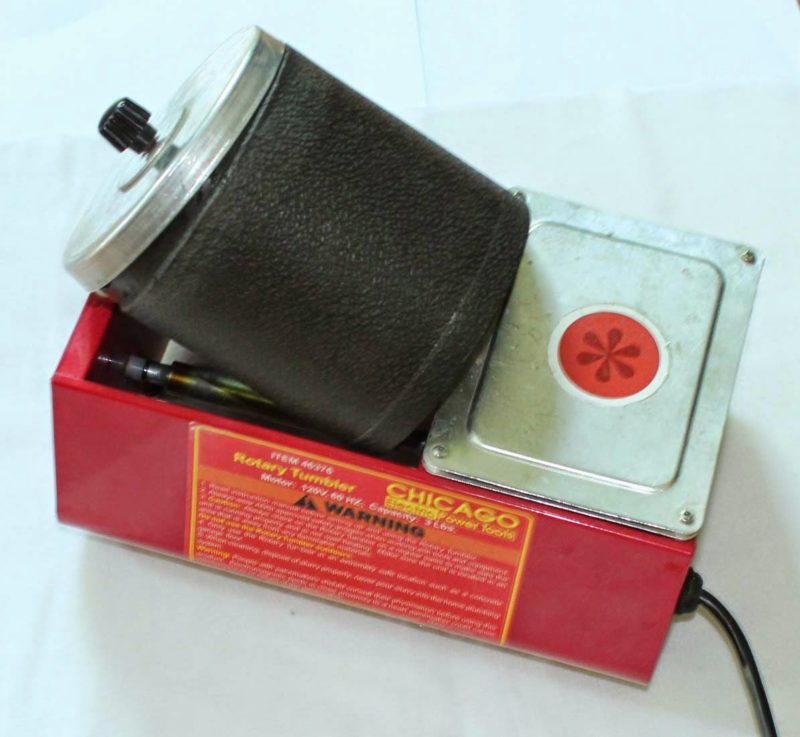
I couldn’t/wouldn’t work metal without a rotary tumbler. The tumbler was one of the first purchases I made when I began metalsmithing. The tumbler uses stainless steel shot to clean your pieces to a brillant shine, works to smooth or fine tune edges (prior filing or sanding is still required) and makes all your hard work look like it’s finally worthy of a jewelry design.
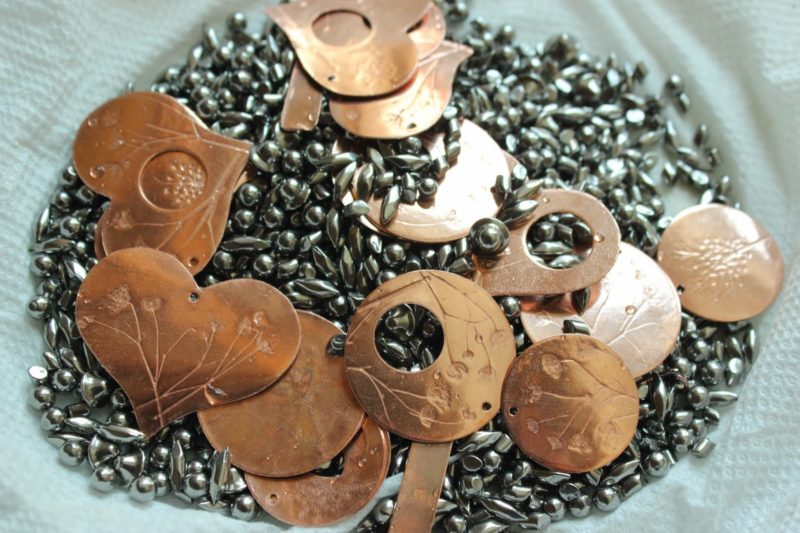
Pieces fresh out of the rotarty tumbler, sitting in the the stainless steel shot still wet with water droplets.
I’d also like to point out that you don’t need to have every single one of these tools to begin working with metal. I’ve added to my collection as the need has arised. I still have a wish list that is a bit long but for now the tools in my studio work for me. I’ve recently purchased my first, albeit inexpensive, flex shaft with a foot pedal. I’m so excited about putting that to work! I have two other tools which are high on my wish list. The first is a metal bench shear and the second is a forming or shaping block.
It seems there’s interest in learning more about working in metal so I’ll work towards getting more information or tutorials on this topic in the future. I won’t forget about those of you that wish to know more about lampworking. I’ll try to get a post about lampworking onto the June schedule.
Tool Resources:
Harbor Freight – Rotary Tumbler, Hammers, brass hammer, diamond files
Otto Frei – Disc cutter, fine quality metalsmithing tools
Rio Grande – Disc cutter, fine quality metalsmithing tools, Stainless steel shot, Steel bench block
As always thanks for visiting with me at ABS today. I leave you with this question: what tool is on your wish list today?

Ema Kilroy is a lampworker and metalsmith living and working in Central Massachusetts.