My necklace tutorial is about Spring, or maybe I should say waiting for Spring. As I write this early in the morning, the temperature outside has just plummeted to 8 degrees below zero F. The house pops and bangs as the temperature falls, snow covers our fields, the trees are bare. But as I looked
for swelling buds yesterday, I did find a few.
swelling buds of Spring and greenness (left Rosa Rugosa and right Lilac)
Of course I know that Spring will come. Just a question of when we will see birds and butterflies and colorful flowers and woods that have come to life.
Meanwhile, I have been making my own Spring with beads and wire .
I hope you enjoy my Waiting for Spring necklace. It is about loving the outdoors and creating with art beads.
Specifically, my Waiting for Spring necklace measures 30 inches from end to end. The dark brown ball chain is added as a layer and is not connected to the necklace but I see it as being worn with the necklace. The necklace is made by wire wrapping art beads and attaching them to a length of etched bronze chain. My instructions will focus on the specifics of making the focal assembly and the stacked disk beads.
Please note that some of the bead pictures are not exactly like the ones in the necklace because at the last moment I changed that center curved bead into a smaller straight bead. But the technique for creating the the focal bail and assembly are the same.
Here is a closeup of how the center bead assembly looks now
Closeup of the focal pendant
Tutorial
Art Beads
2 Rustic Glass disks 27mm x 5mm 8mm center hole by
Outwest
1 Ceramic Butterfly Focal Bead Large 2 inches high and 2 inches wide by
Mary Harding
1 Peach color Porcelain Toggle Clasp with teal blue toggle bar by
Mary Harding
Supplies
8 yards of patinated 20 gauge copper wire. If you want to have a patina on your wire you will need to do it beforehand due to the wood and fiber beads. As you cut off pieces from your coil of wire, slip them through some dry paper towel to remove some of the patina and keep your fingers from getting stained with black . Or you could purchase copper wire with an antique patina.
12 inches of Vintaj Natural Brass chain 9.5m x6.5m etched cable unsoldered chain ( this is an easy chain to find) on line try
Sizzix.com or
The Curious Bead shop on Etsy
1 copper tube bead about 1 inch long and 1/4 inch in diameter
2 6mm antiqued copper jump rings
1 14 mm copper jump ring
1 10mm copper jump ring
1 5mm copper jump ring
1 20 gauge 3 inch long balled end head pin
7 beads assorted colors and sizes–including
1 lime green ceramic bead 6 mm
1 turquoise ceramic bead 8 mm
1 6mm thick disk bead light blue
1 faux sea glass dark burgundy 5mm
3 peach colored ceramic beads 3-4mm
48 inches dark brass ball chain for layering with necklace connected into one long loop. check out Etsy or
Ornamentea for this kind of ball chain
2 Brass 1/16 inch Screw rivets 3/4 inches long source Objects and Elements but they are going out of business and don’t carry them anymore. I found them
HERE on Etsy.
1 Felt disk center hold punched or other fiber about 1 inch in diameter. I made this one but found some on Etsy
Here
2 plain unstamped 26 gauge copper disks center hole punched: 1 meassures 5/8 inch and 1 measures 1/2 inch
2 stamped 26 gauge copper disks center hole punched: 1 measures 5/8 inch and 1 measures 1/2 inch
1 copper tube bead about 3/4 inches long and 1/4 inch wide. I found something similar
HERE
Epoxy glue
Tools
Flush cutters
Chain nose pliers
Round nose pliers
Bent nose pliers
1/16 or 1/8 inch hole punch
Tiny eyeglass screw driver (optional)
We are going to begin with making the stacked rustic glass disk beads.
There are two of these beads in the necklace. One has the fiber and a sun charm and the other has two stamped disks. The Sun charm one will be our model.
1. We will begin with making wrapped loop bails on opposite sides of the disk.
Cut a 15 inch piece of the 20 gauge copper wire. Make a loose fold in the wire at about the 2 1/2 inches from one end. Insert the disk bead as shown in the picture above.
Wrap the shorter wire around the longer wire (similar to wire wrapping a briolette)
Make two or three wraps and then but off the shorter end.
Use the chain nose pliers to make a right angle bend in the longer wire slightly above the wire wrap and make a wrapped loop.
How the disk bead will look with the two wire wrapped loops.
Making the Bead Stack
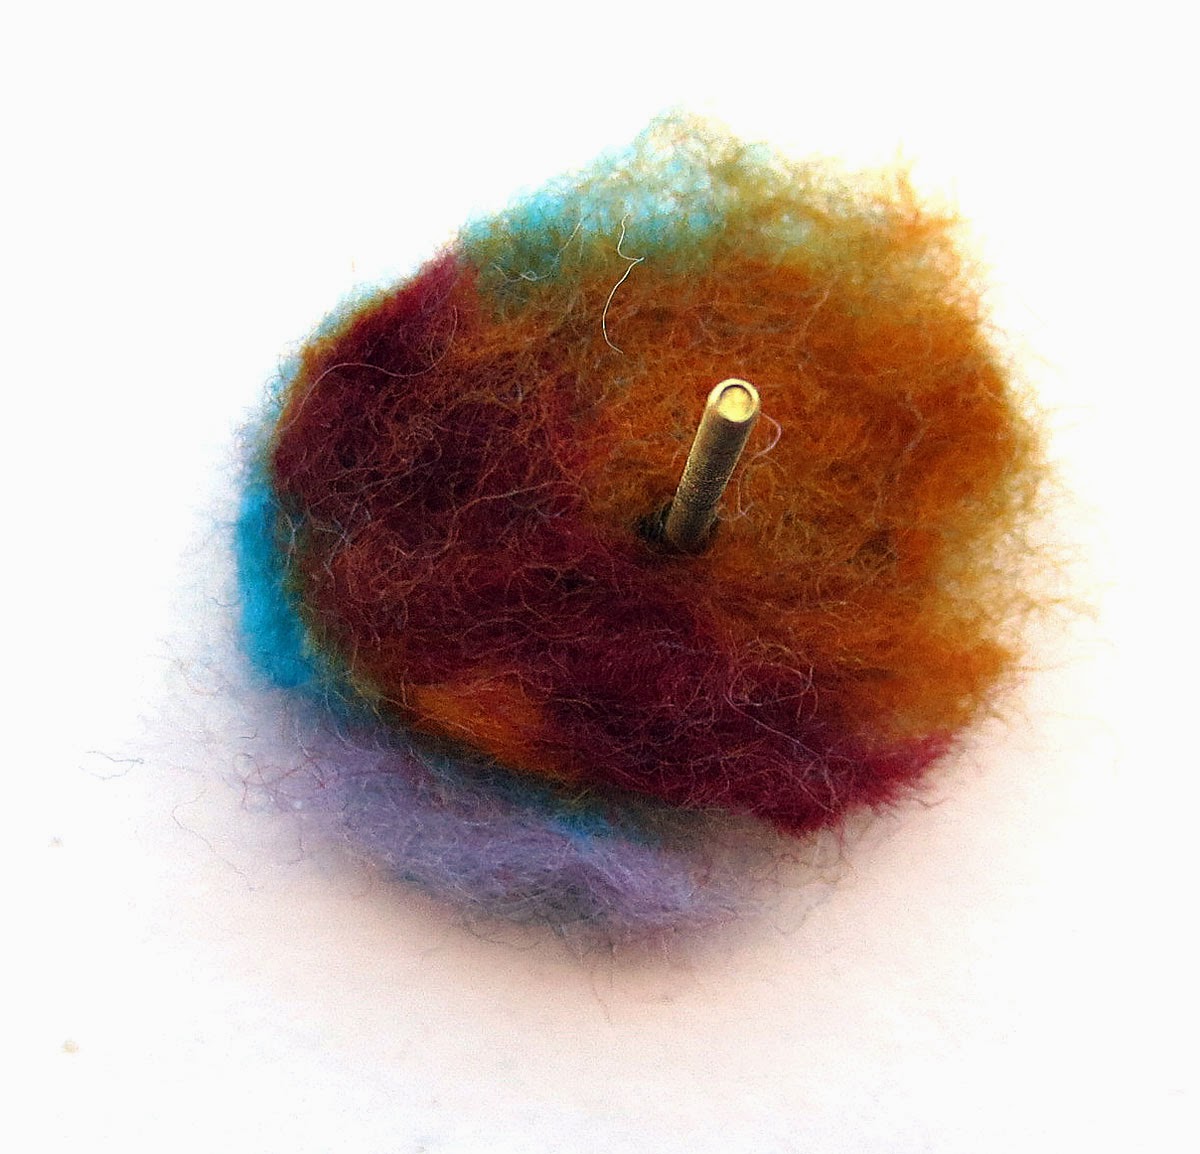
1. Using a 3/4 long screw rivet insert it into the center 1/16 inch hole in the 3/4 inch diameter plain patinaed copper disk as seen below:
2. Add the felted disk to the long screw rivet as seen below:
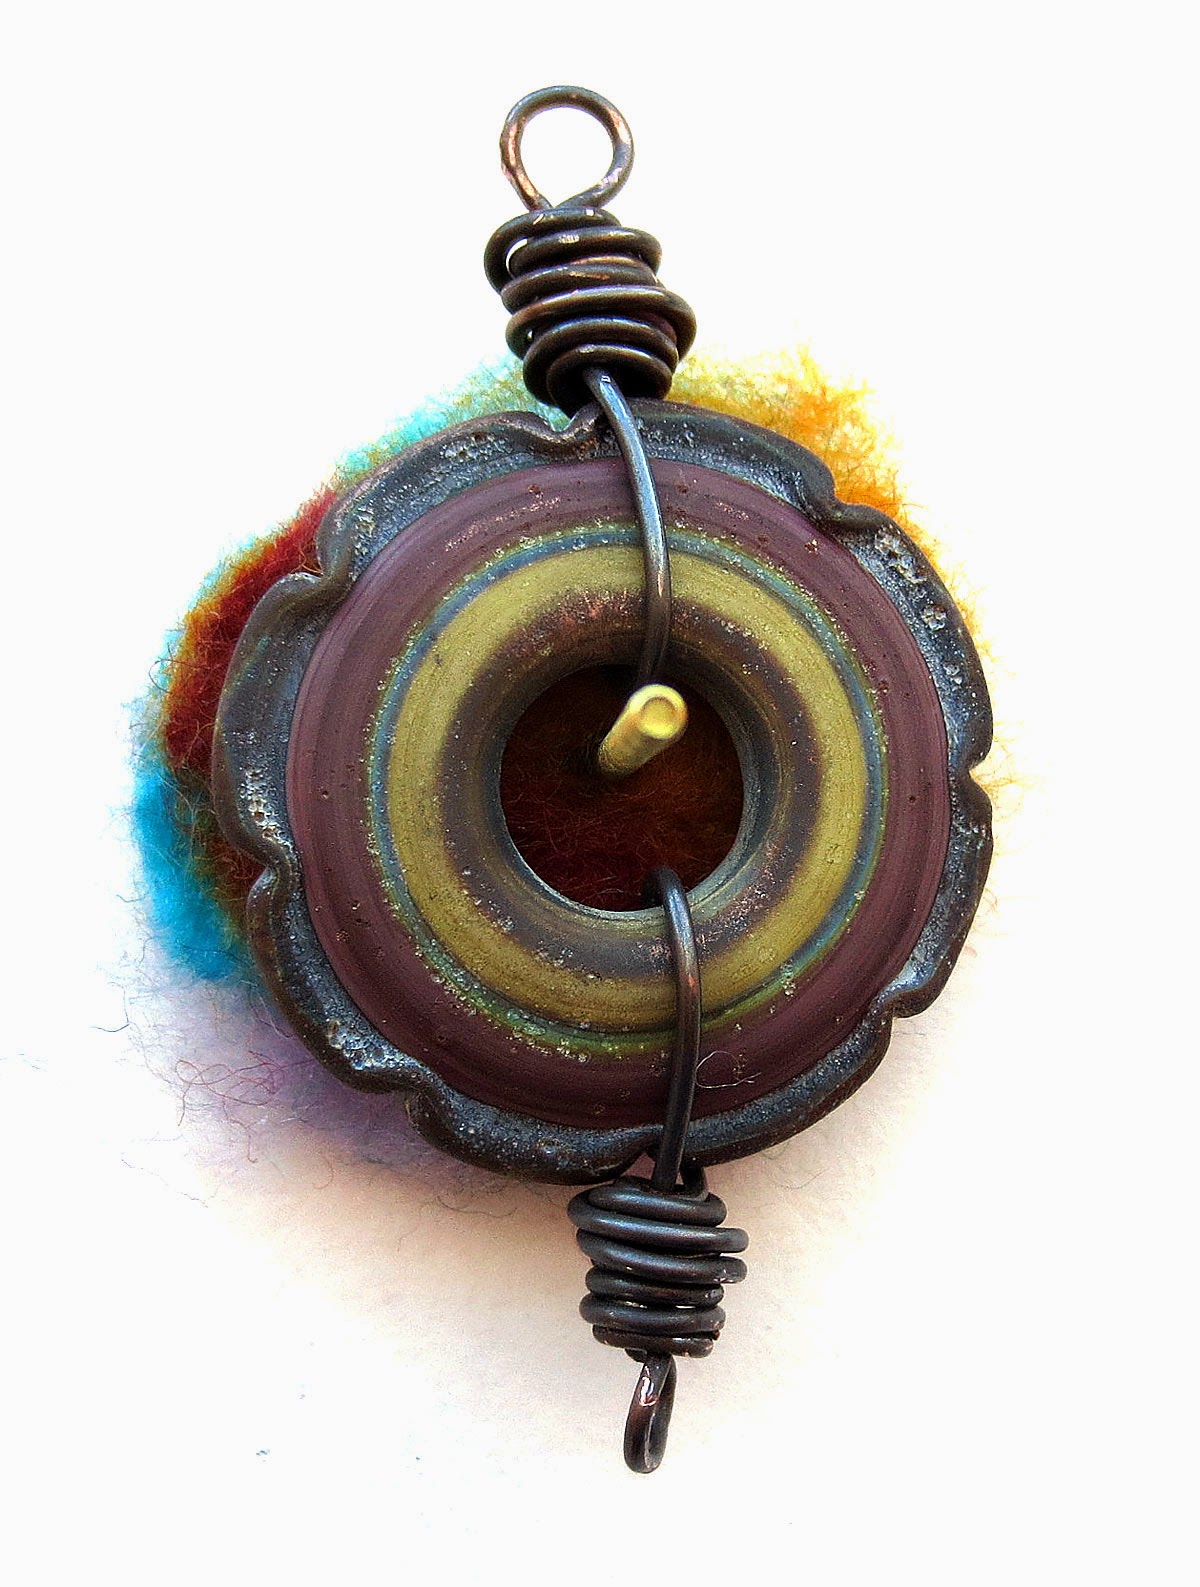
3. Add the rustic glass disk bead as seen below
4. Add the plain copper 1/2 inch diameter disk as seen below:
5. Add the sun charm as seen below
6. Add the brass nut and screw the assembly together as seen below. If you have a tiny screw driver use it to hold the head of the screw or use your finger nail to hold the head of the screw so it does not spin as you tighten the nut.
8. For the stamped copper stacked bead follow the steps above but omit the felt and the sun charm steps. For both beads, cut off the excess screw and file smooth. Add a couple of drops of epoxy glue to the screw head to insure that it does not work itself loose later on.
The Focal Butterfly Pendant Assembly
1. Use a copper tube bead that is about 3/4 inch long and 1/4 inch in diameter. Patina the tube bead before you start.
2. Cut a 4 inch piece of 20 gauge copper wire. Make wire wrapped loops on each end. Insert the wire into the bead and curve the wire slightly upward.
3. To make the bail to hang the butterfly pendant from, cut a 15 inch piece of the 20 gauge wire and insert 2 inches of it into the wire stringing loop of the butterfly pendant . Fold the wire together and wrap the short end of the wire around the longer piece, in the same manner that you did to wrap the stacked rustic glass disk beads in the steps above.
5. Clip off the extra short wire. Then wrap the long end of the wire around a pencil or ball point pen or a 3/8 diameter copper tube as seen in the picture below.
6. Then bring the wire around the strung loop and to the back of the pendant and back over the tube bead mandrel and back front again. Then around one more time and then begin to make a wrapped loop
wrapped loop completed
7. Embellish the bail and further secure the wrap by using a balled end head pins. Shape the head pins into a U and insert into the bail wrapping the wires around the tube bead on each side.
the orange colored wire is the wrapped balled end pin
7. So now you have your bail completed and you will begin adding embellishments to the pendant. Wire wrap the three peach colored small 4mm beads with the 20 gauge balled end head pins. Attach all three beads to a single 4-5mm jump ring and attach to bail you just made for the Butterfly flocal.
Now attach the Green Girl Mushroom bead to the bottom of the butterfly focal as seen in the picture below with the 16 jump ring.
Necklace Assembly
1. Double wire wrap the beads on each side of the necklace in the order that they are in the picture. Use 15 inch pieces of wire for the wooden beads and the bird beads. Use about 8-10 inches of wire for the smaller round beads. Link your wire wrapped beads together as you go on the left side in the following order: wooden branch bead, brown and blue ceramic bird bead, wooden branch bead, stacked sun charm glass bead (that we assembled earlier), wooden branch bead, lime green ceramic bead, faux glass bead.
For the wooden branch beads and the bird beads I make hefty wire wraps by going up and down the bead 3 times for a total of 9 wraps.
2. Now make the double wire loop wraps for the right side of the necklace in the following order: wooden branch bead, green ceramic bird bead, thick dotted ceramic disk bead, wooden branch bead, stacked stamped glass disk bead( that we assembled earlier), turquoise porcelain ceramic bead.
3. Then add the 6mm jump ring to the last wrapped bead on each side of the necklace and attach to the assembled Butterfly Focal bead.
5. Add the chain to the loops of the wooden branch beads at the top of the necklace by opening the unsoldered links as seen in the picture below.
Do this for both sides of the necklace. Then determine the link that is in the middle of the necklace that will allow the butterfly focal bead to hang evenly and straight. I found that 18 links of chain ( 5 inches) on the left side and 20 links( 5 1/2 inches) for the right side made it fall about even. Open that link on the left side of the necklace ( facing you) and attach the teal blue toggle bar. On the remaining chain add a the 10 mm jump ring and attach the peach color porcelain toggle clasp.
6. When you wear your new necklace, add the ball chain doubled and adjust it to fall the way you like it. I had mine make descending loops.
Enjoy your new necklace and your Spring!!
Thanks so much for stopping by today.
Posted by Mary Harding
Waiting for Spring Necklace by Mary Harding
(picture taken on snow background)