
I decided to try my hand at making a fabric rose since I have a sea of sari ribbon sitting on my desk and wanted to show some creative ways to use it. This project is so easy, you’ll have a little garden before you know it. The trick it use a filigree piece on the underside to give it some stability and offer unlimited design options to incorporate your roses into your jewelry designs.

Supplies:
2″ sari silk ribbon
28.5 mm kaleidoscope filigree
10″ 6lb. Fireline thread
Beading needle
Directions:
1. Roll the end of the ribbon around itself several times.
2. Sew the thread through the knot horizontally.
3. Continue wrapping and sewing through the flower every 4 or 5 turns.
4. For the last few wraps, wrap the ribbon a little loose and pull the edge of the ribbon to give it some body.
5. Sew the rose securely severely times. If there are any parts of the flower that are loose, sew it into the flower, hiding the threads on the under part of the flower.
6. Sew the rose unto the filigree until it’s securely attached.

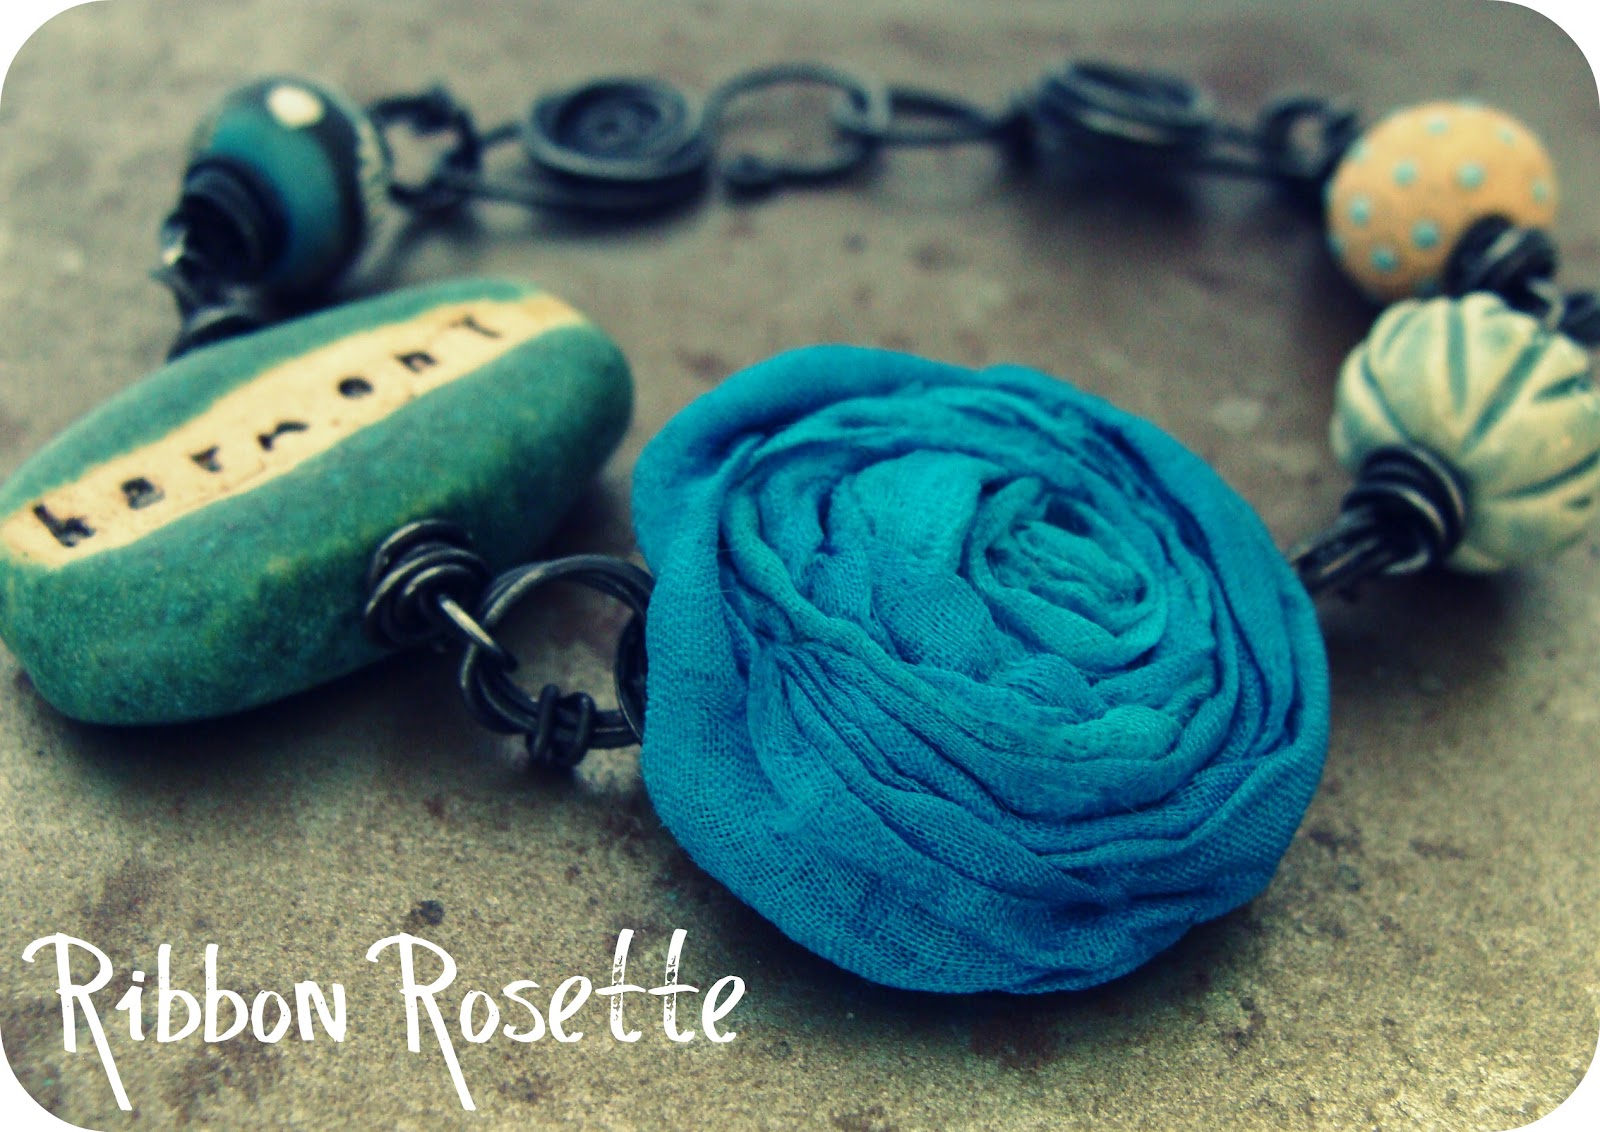
For the bracelet I paired my flower with a word bead from Diane Hawkey, ceramic beads from Earthenwood Studio and Golem Designs and a disk bead from Humblebeads. The awesome flower clasp is a design from Cindy Wimmer, you can find the tutorial for the clasp here.
Resources: Filigree: Vintaj. Ribbon: Humblebeads.
Marie Cramp
February 22, 2012 at 5:59 pmThat is totally awesome! I love it! 🙂
jenna
February 22, 2012 at 6:30 pmFiligree on the back! Genius! I thought I was going to get some stuff done today, but it looks like I'm going to be sidetracked with this project a while.
Jo
February 22, 2012 at 6:36 pmWhat a lovely idea! I love Cindy's clasps too.
Erin Fickert-Rowland
February 22, 2012 at 6:47 pmGreat tutorial Heather! It's a beautiful bracelet!
TesoriTrovati
February 22, 2012 at 7:18 pmdamn. that is so clever. i have bins of every color sari ribbon above my desk wondering what i can do with it. i will be doing this soon!
enjoy the day.
erin
Alice
February 22, 2012 at 10:39 pmThanks for the tutorial! I've been wanting to make these for a while now, but didn't know where to starte. Adding the filligree is a clever idea!
Erin Siegel
February 23, 2012 at 12:03 amFabulous! Love it. I've been wanting to make ribbon roses for some time now. Been seeing them popping up in jewelry and fashion everywhere. Your sari ribbon rosette is the prettiest one I've seen yet!
Cindy
February 23, 2012 at 3:38 pmI am a huge fan of ribbon roses! Now how do you make yours look so perfect?? 🙂 Thank you for the tip to use the filigree…that is a great idea so that it will lay flat. Now I want to rush out and make roses! 🙂
Lottie me
March 4, 2015 at 10:37 pmBrilliant, I'll be hunting for sari ribbon and filigree now