Lately, I’ve found myself compelled to create texture in just about all the pieces I’ve been working on. From bracelets to earrings and necklaces. Combining wire and mixed media has captured my imagination and enchanted my creativity (yes, sometimes she feels like a separate individual).
Awhile ago, I watched a video from Nancy L.T. Hamilton (one of my favorite YouTube teachers) about putting texture into sheet metal. You can see that here. I had to see if I could create this awesomeness. I also was perusing Pinterest and found a smocked fabric technique called “tinctory“. So, here I am with fabric and sheet metal, with similar looks but so completely different materials.
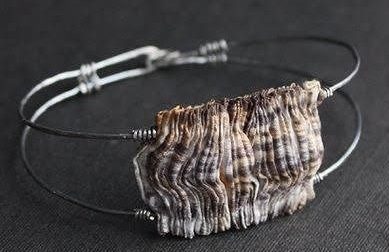
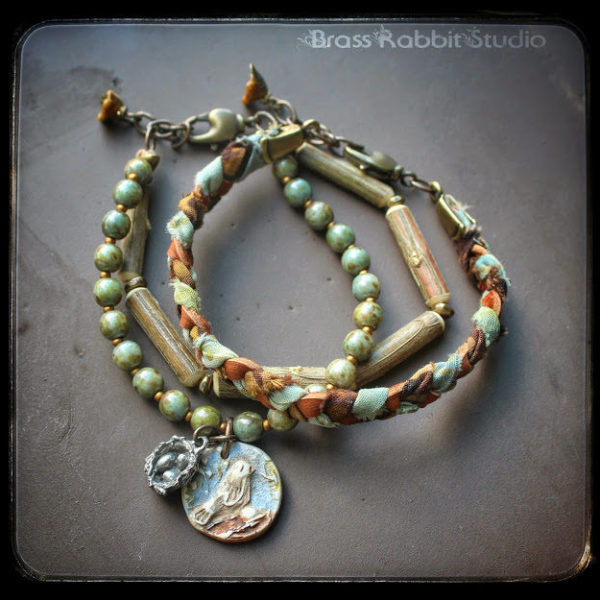
Pinterest inspiration.
This is the smocked fabric that I mentioned above. Delicate fabric gathered up and added to wire. Who could not love such a combination. My dilemma? I do not do fabric, unless it is Sari silk or leather. I do not sew, although I want to learn. Can you imagine what such a bracelet would look like with Heather Powers fabrics? Oh my! Something else for my idea file. 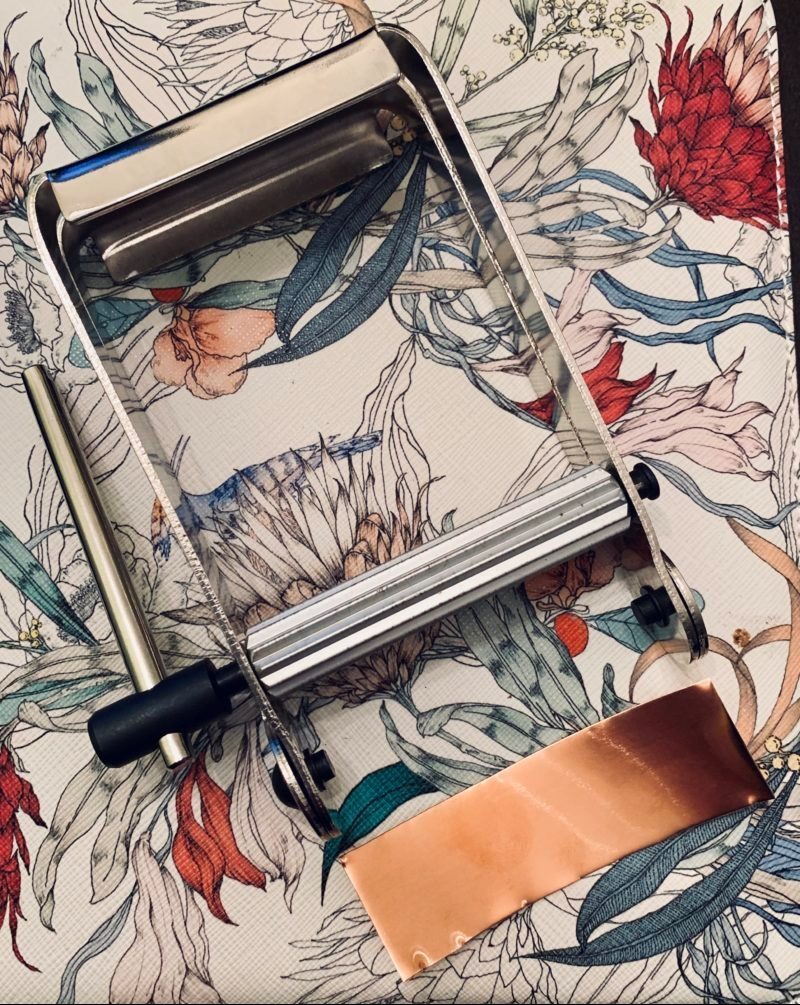
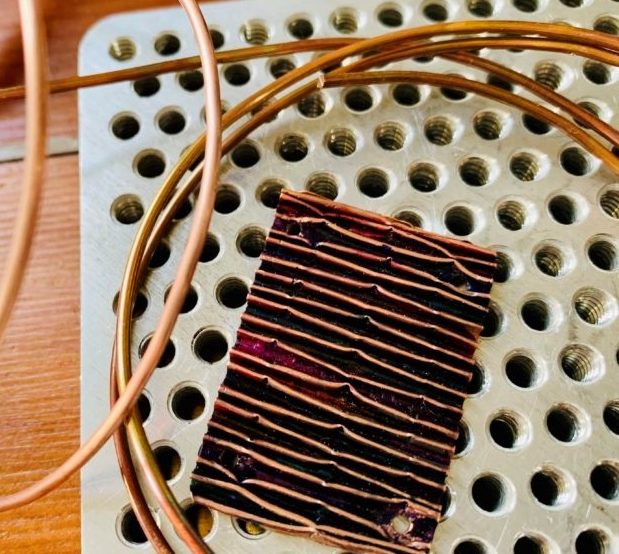
So, I cut some 30 gauge copper sheet metal and got my “corrugator” out of the misc. tool box. This is an awesome texture maker! 30 gauge sheet is very thin and soft, so it went through like a charm. If you use heavier metal, you should probably anneal it, to make is soft. I cut the sheet metal to the exact length that I wanted. After going through the corrugator, it will be very work-hardened and difficult to cut. If you need to make further cuts, anneal it first. Save a saw blade.
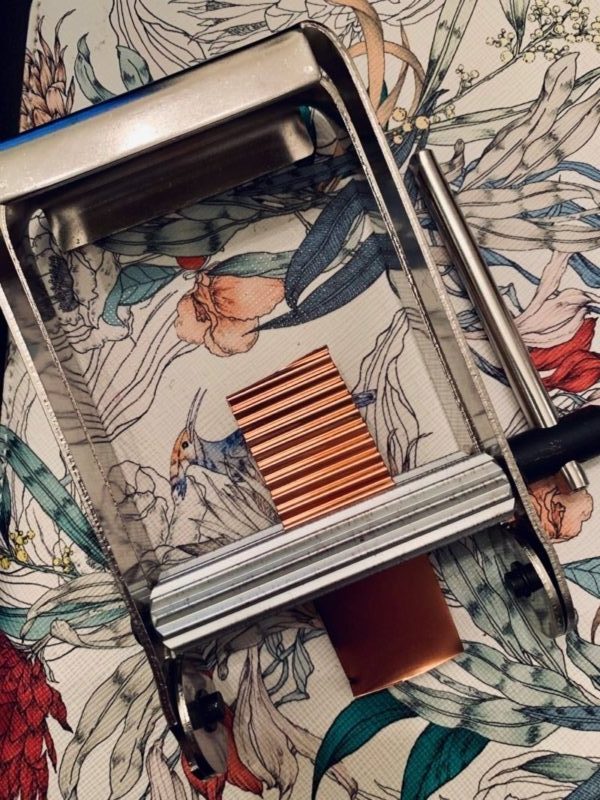
You could make an even more impressive texture by putting it through multiple times and at different angles. As you can see below, it looks like a tin roof.
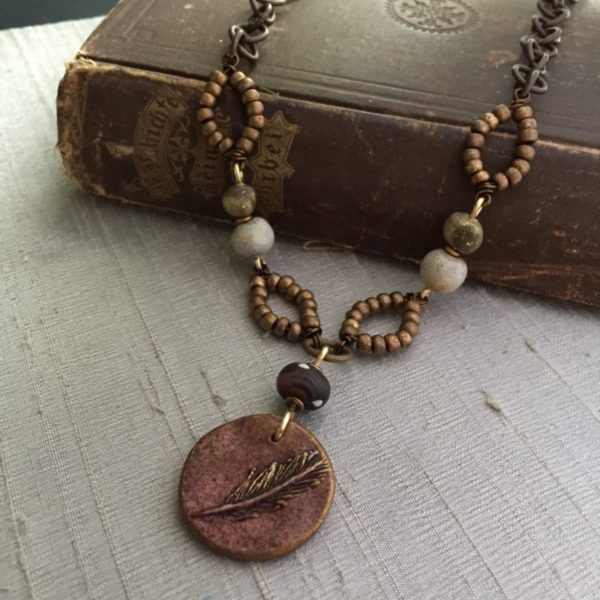
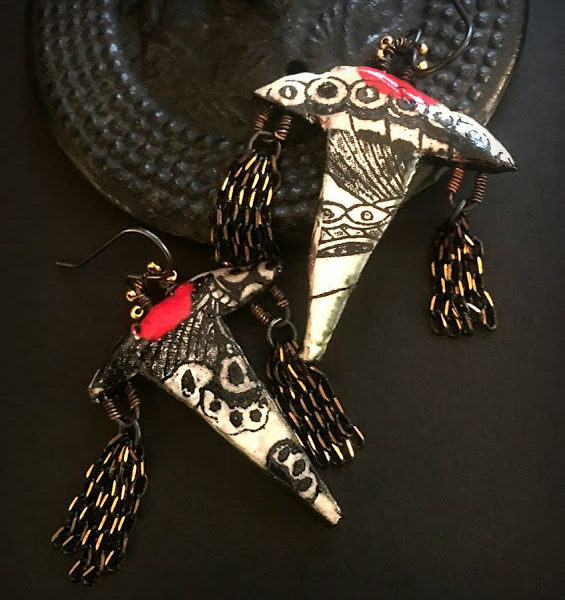
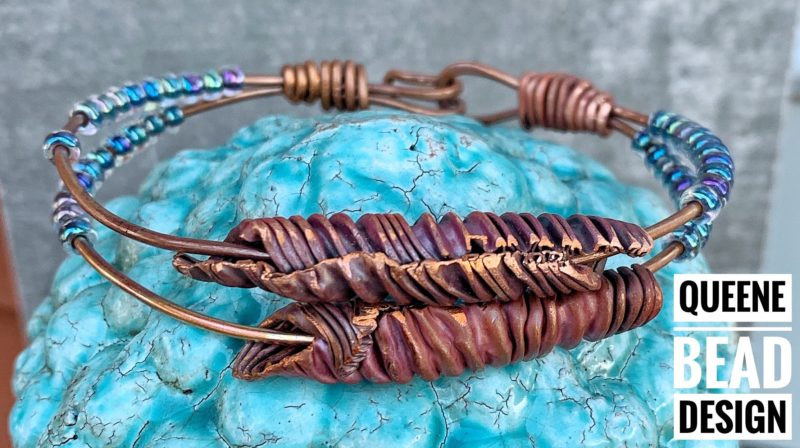
And now, really, the fun begins. I annealed the sheet, as I need to pinch and squeeze and alter this texture. I knew that I wanted to make some beads with some of the copper pieces. I also knew that I wanted to leave some flat (ha!) to attached to either a bracelet or make a pendant out of. The bracelet at the top of the page shows the beads that I made. That process was crazy. Involving a pair of Wubber bail making pliers and a plastic mallet. And lots of filing to make sure my edges were smooth and wearable.
I added alcohol ink.
Here, I did the bend, squeeze and pinch. Then to add more excitement, I added alcohol ink into the channels and sanded the top edges back to bare copper. It’s laying on top of my Now That’s a Jig! from Brenda Schweder. I made my bracelet form on the Jig with a Bracelet-Sizer puck.
I haven’t made a final decision on where I’m using these. I could rivet it to a cuff. Or put it on fabric and make a pendant of it. I can’t wait to see what I end up doing with it. It hasn’t told me yet what it wants to be when it grows up.
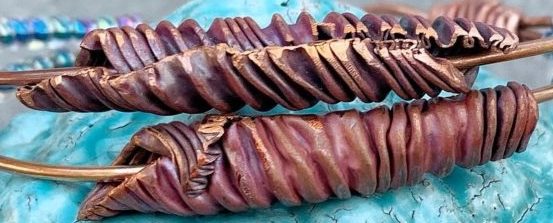 Here is another look at the beads I made for the bracelet above. They remind me of a fern frond opening up to the morning sun. Or a liquid copper wave breaking. What do you think?
Enough of my wandering. The studio calls my name. Whispering to me in my dreams….
I leave you with these words. Until next time!
Susan LeGuyader
Queene Bead Design