
Hello – This is my first post, and I’m delighted to be here. I’ve been tasked with offering you some tutorials and I’m going to start with a variation of a popular bracelet design of mine.
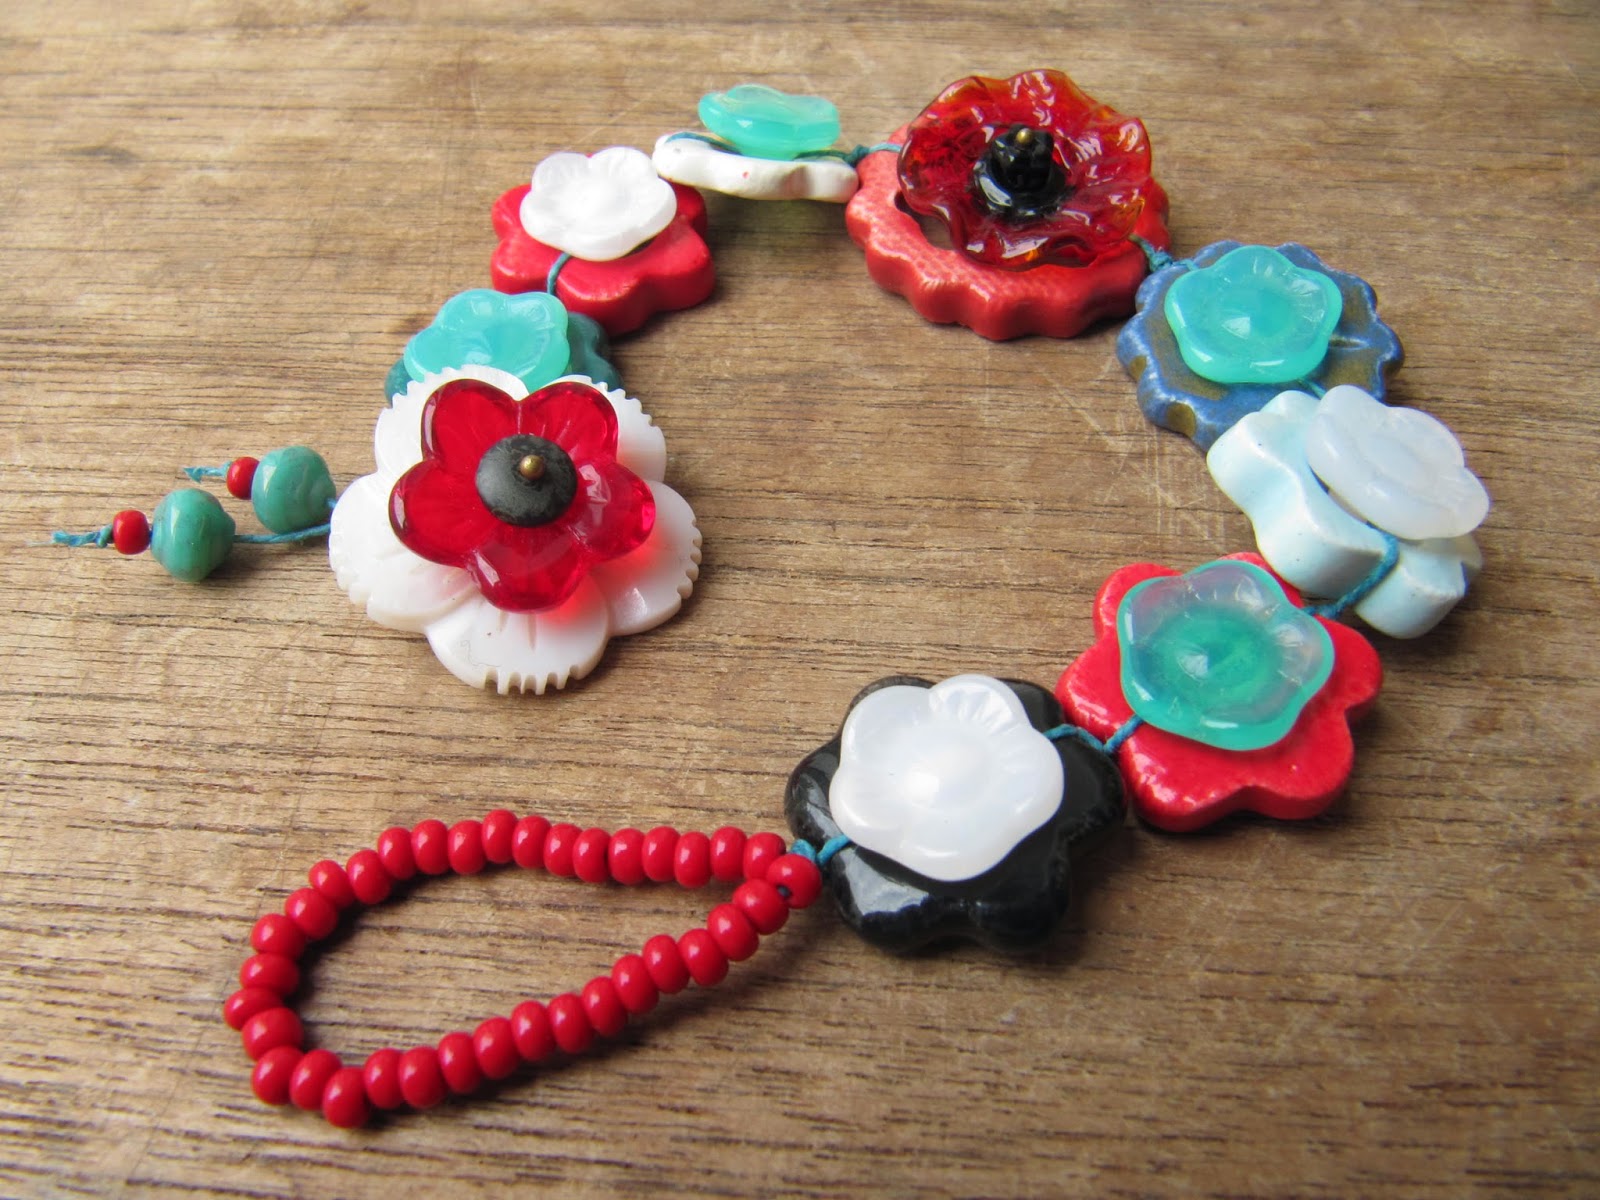
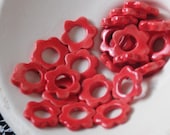
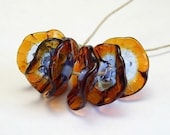
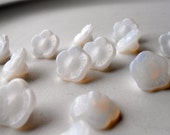
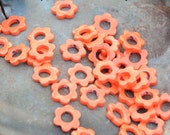
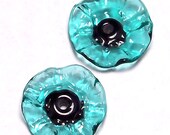
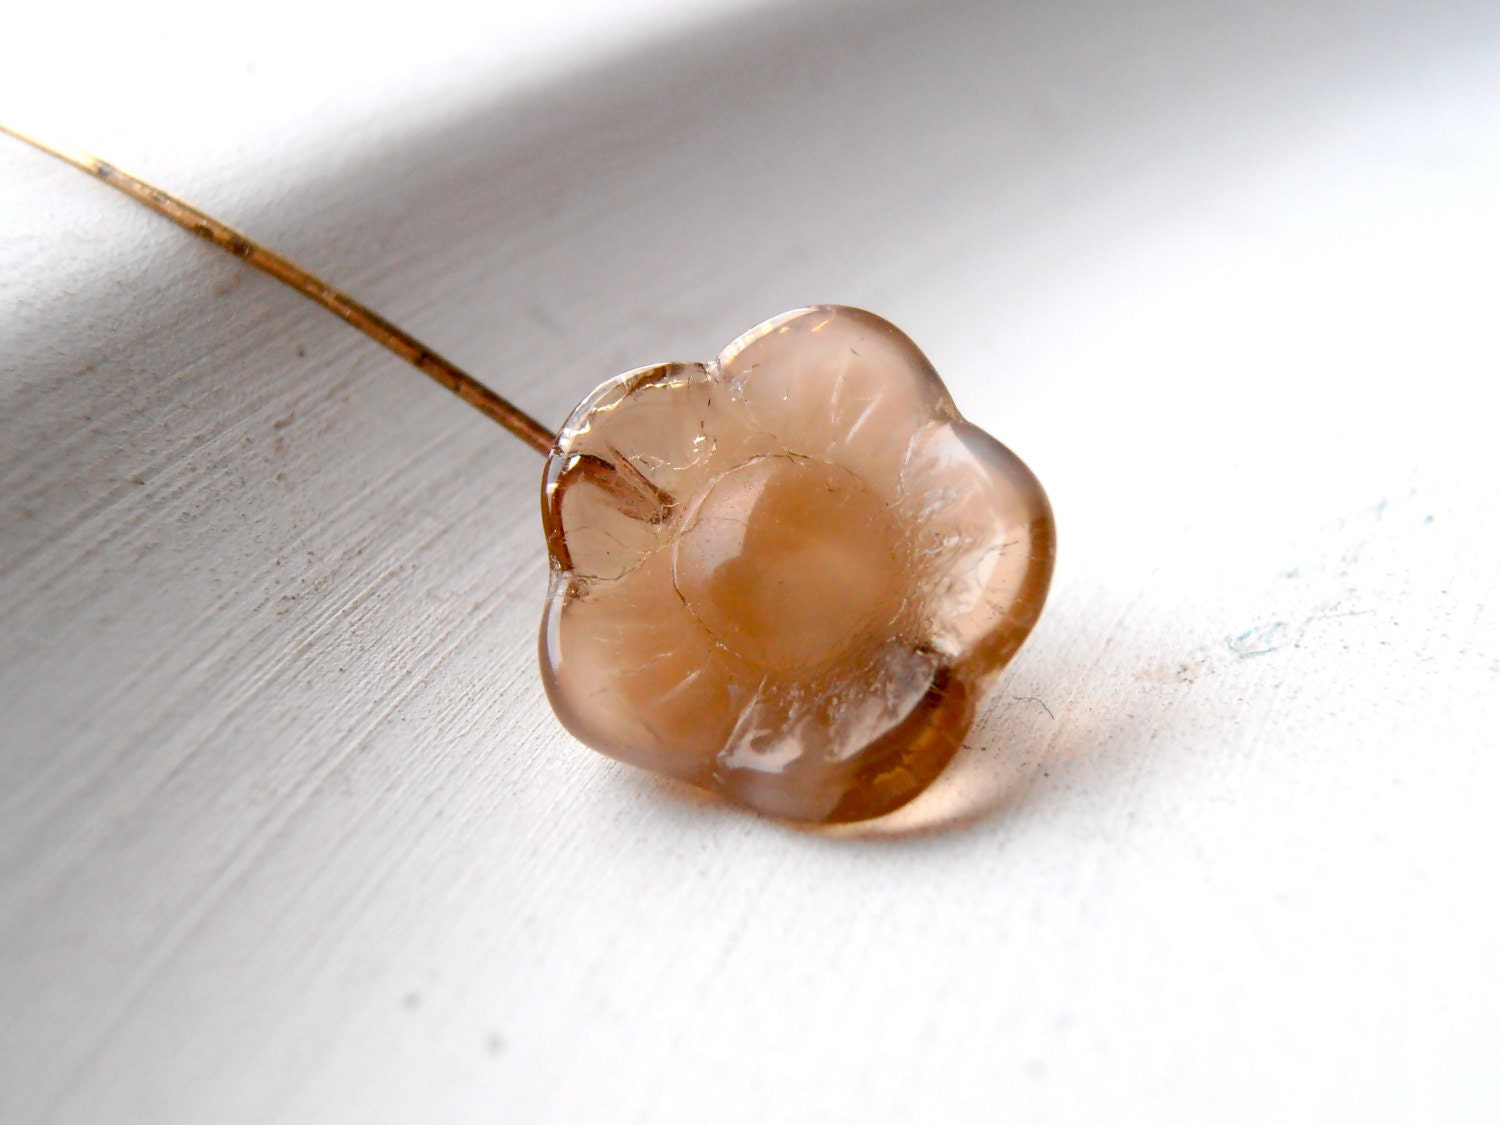
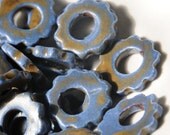
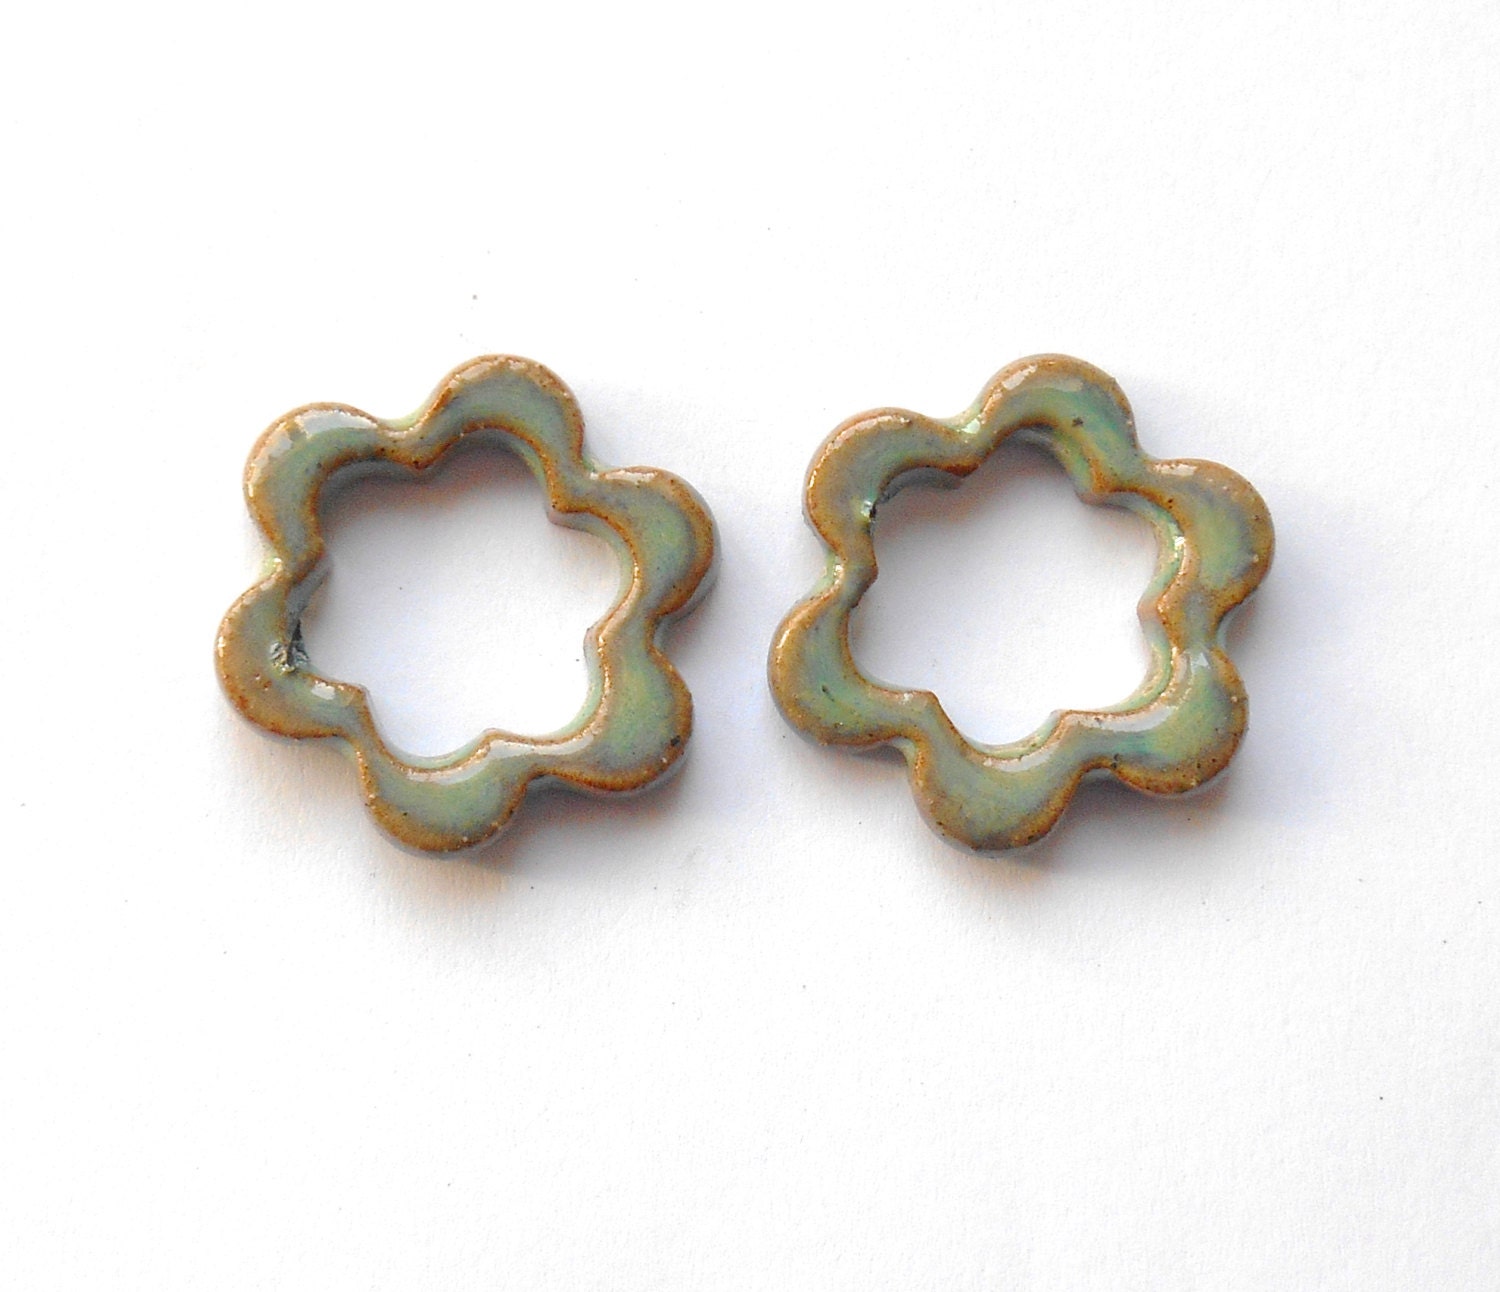
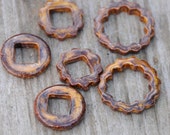
It uses ceramic components from Captured Moments. I’ve used 7 small flowers and one of the larger gear links, but you may wish to use more or fewer flowers depending on your wrist size. There are lots of colours available so you can choose your own palette, if you like. The bracelet also features a beautiful lampwork poppy focal from Mermaid Glass. You’ll also need some of these czech glass flower buttons, along with a button for the clasp.

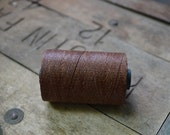
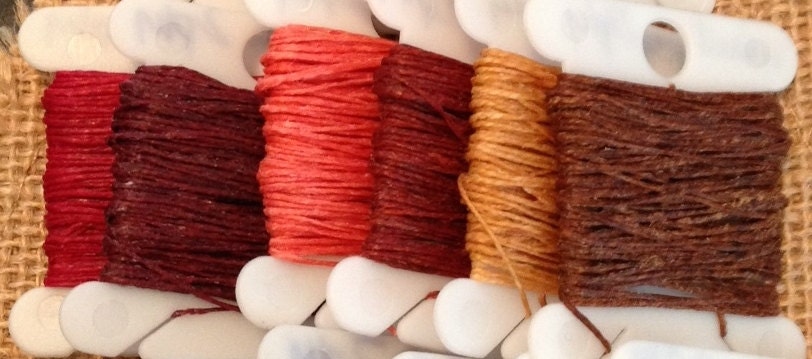
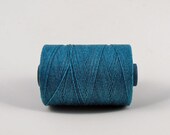
As you’ll see, I’ve made my own button by creating a shank with a looped headpin. I’ve done the same with the focal poppy. When making this second shank, try to keep the loop small, that way it will sit nicely in its frame. Aside from these items, you’ll need a good length of 2ply Irish waxed linen (say, 70 cms), and a selection of seed beads (the ones that I’ve used are approximately 2mm in size). So far as tools go, you’ll need just a couple of basics: cutters and round nose pliers.
Start by stringing seed beads to the centre of your linen cord, making a loop that it large enough to hold your button. Secure the loop with a knot; you’ll now have two equal lengths of linen. Thread one of your lengths through a ceramic flower, then thread both through your glass flower. Position your glass flower inside the ceramic one, then split your two cords before bringing them together on the other side of the flower. Then, tie an overhand knot. Continue adding these flower units until you have strung four.


Becky Pancake
March 18, 2014 at 11:40 amClaire your post is wonderful. The photos are clear and plentiful. You gave lots of options.Great job. I will be pleased to see more posts from you.
Kathy Lindemer
March 18, 2014 at 11:43 amCool design! Thanks for sharing!
Carol Briody
March 18, 2014 at 4:14 pmThank you Claire! These are terrific instructions/pictures, and a beautiful design! I just happen to have a few lovely Captured Moments flower links on my beading table this very moment that had me stumped for a way to use. Your blog couldn't have come at a better time! I know what I'm going to do! Carol
Monique (A Half-Baked Notion)
March 18, 2014 at 5:09 pmLove this variation, Claire! Great job and wonderful way to welcome spring 🙂
TesoriTrovati
March 18, 2014 at 5:10 pmHoly moly that is a brilliant design Miss Claire! WOW! I will do this for sure. Please keep up the great tutorials! Enjoy the day. Erin
sandi m
March 18, 2014 at 6:17 pmBeautiful!!!
Lesley Lane
March 19, 2014 at 12:07 amGreat tutorial – clear photos and instructions. Love your designs!
Jean
March 19, 2014 at 12:10 amDear Claire–WOW! what beautiful and original designs and great tutorials! I love your style! xox jean
bairozan
March 20, 2014 at 10:50 amSuch a great tutorial – just the right one to help me overcome my hesitation to work with cords and knots! Thank you so much!
ACBeads
March 21, 2014 at 10:31 pmThis is a stunning design. I've been reading your blog for some time and I've been curious how to 'stack' the flowers. Thank you, Claire, for your generosity in sharing how you make it. Aba