
This tutorial is for a very simple design, but I though it might be handy if you have any lovely handmade buttons that you’re unsure how to use, or that you want to use as a bracelet focal. I love to incorporate buttons in my work, most frequently as a closure, combined with a beaded loop. This can really make the button a focal feature in your design. However, I have heard some people say they struggle making beaded loops – my guess is it must be something to do with the knotting. So, this design may get around some of the problems you might have experienced. As I say, it really is a doddle to make.
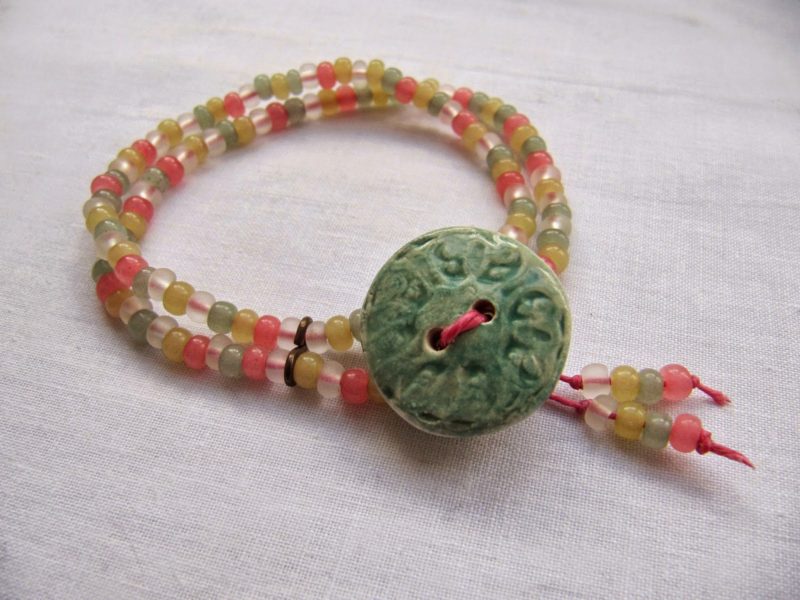
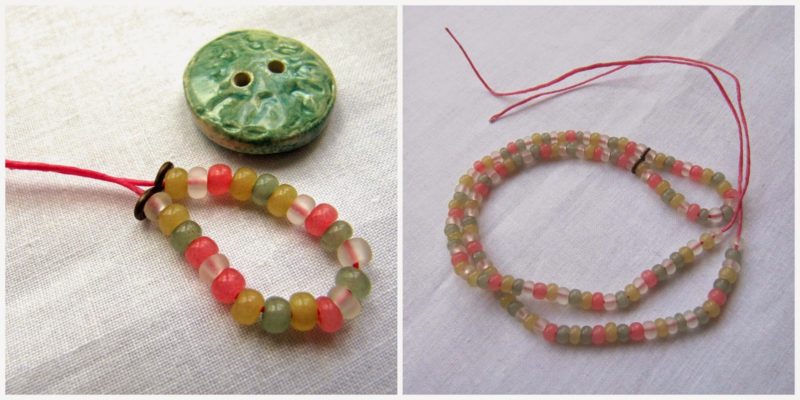
The ingredients list is also fairly basic. Along with your button (mine is from Bo Hulley Beads), you’ll need seed beads (around 4mm), approximately 40cm of 4ply Irish waxed linen, and a wire figure-of-eight link. I’ve used the eye link from a Vintaj hook and eye clasp (like this one) but you could always form your own from some wire. To start, thread enough beads to loop around your button onto the cord and move them to the centre of the cord. Next, thread each of the ends of your cord through the two holes of your figure-of-eight link. Then, continue threading beads onto both ends of the cord until you have enough length to fit round the wrist.
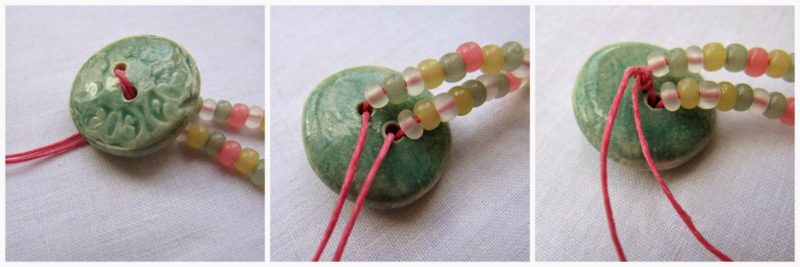
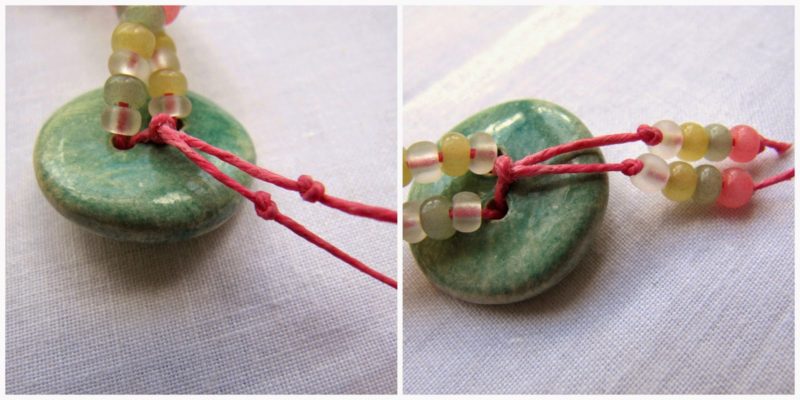
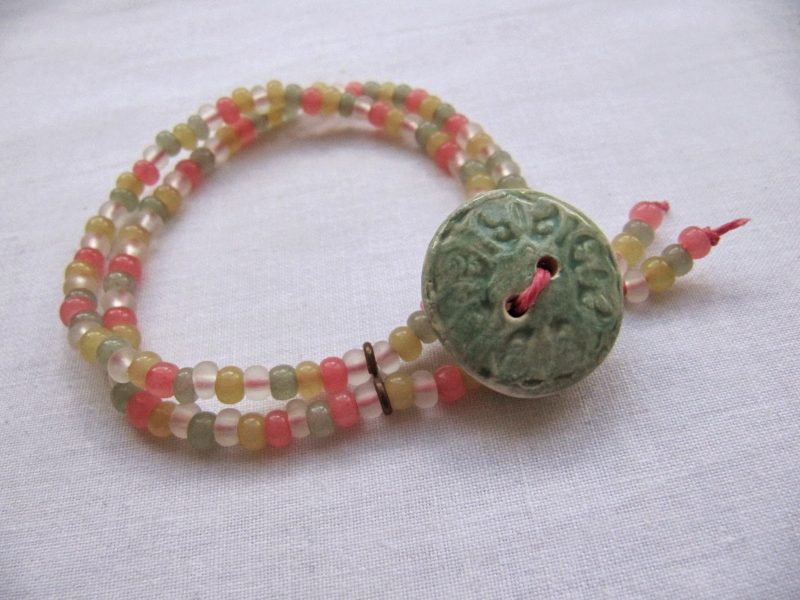
Next, thread your two cord ends in opposing directions through the holes in your button. Then take both threads together and tie an overhand knot that sits snugly against the back of the button.
Finally, make beaded tassels on the ends of your cord. I’ve knotted at the top and bottom of my tassel beads so they stay neatly in place and are kept out of the way of the loop. Then you just need to trim your ends about 5mm below the beads.
And that’s it!
Easy peasy!
Bye for now, Claire
beadrecipes
August 26, 2014 at 10:58 amNice little tutorial Claire, very versatile ideas! Thank you, that'll be going on my pinterest board!
Ann Schroeder
August 26, 2014 at 11:32 amThank you for the tutorial! It's a great bracelet, and I love buttons.
Deb Fortin
August 26, 2014 at 12:02 pmso simple, so adorable. thanks for sharing this loopy idea
Divya N
August 26, 2014 at 1:44 pmThe figure of 8 finding makes the connection different. Thanks for this great tute
TesoriTrovati
August 26, 2014 at 1:54 pmHot damn! That is genius! I will have to try that out soon. Enjoy the day! Erin
Carol Briody
August 26, 2014 at 10:17 pmThank you for this super tutorial! I love it!
Terri
August 27, 2014 at 9:37 amSimply wonderful!
Mokki
August 27, 2014 at 1:25 pmLovely and simple. It a very pretty bracelet, thanks for the tutorial.
Susan
August 27, 2014 at 5:15 pmI love tutorials like this! So adorable and easy!
Jane Galbraith
August 31, 2014 at 10:41 amAwesome tutorial. Thank you